Today’s post is from my friend and teammate, Andrea. Andrea is one of those people you just can’t help but like! She is full of energy, enthusiasm, honesty, and drive. She loves learning new things and sharing what she learns. She is an incredibly creative person with a sincere desire to change, improve and grow as well as help others do the same. Her posts give us all a peek into the things she is learning each month about self reliance. They are fun because they are real!
Andrea did a few guest posts for me before officially joining Simple Family Preparedness blogging team in March, 2013. She shares her talents here at Simple Family Preparedness on the 1st Thursday of each month and regularly on her site, Project Simple Home.
________________________________________________________________________
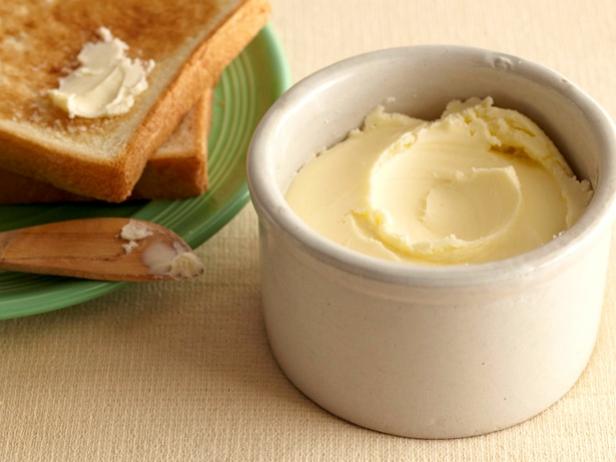
Making Homemade Butter
Summers are busy. Twice the emphasis on that sentence if you have children. So I thought I would look for a skill that was quick, easy, and kid friendly! Making your own homemade butter fits the bill nicely. Why did I feel this skill was important? Well…would YOU want to live in a world without butter?
 You will need two ingredients:
- Heavy whipping cream
- Salt (kosher salt is ideal)
You will also need some hardware:
- a clean mason jar OR a stand mixer with whisk attachment OR a food processor
- a clean tea towel or cheesecloth
- a strainer
Now, making the butter is a fairly simple process, and measurements aren’t really that important. For clarity sake, I was getting about a cup of butter for pint of heavy cream I used. You will want to be sure that you don’t overfill your chosen vessel. I used both the mason jar and the stand mixer.
Make Homemade Butter, Power-Free
For the mason jar method, fill the jar about half way and add just a pinch of salt. Salt is optional and can be added at the end, but I noticed that the butter formed quicker when I added just a bit of salt at the beginning. Don’t over salt however, remember that you can always add more later. Then slap on the lid and shake like mad! This is where you get your kids involved.
Shake up, shake down, shake that butta all around!
It will take about thirty minutes of shaking and during that time you will feel/see several things happening. First, there will be sloshing. Then suddenly the sloshing stops and it gets a bit hard to shake; keep shaking. After a few more minutes, you’ll start hearing sloshing again and you will start to see little globlets of solid butter floating in a much thinner liquid. Those globlets will start to form one big mega glob in the middle of a very thin liquid. Don’t you love the nerdy science talk here?
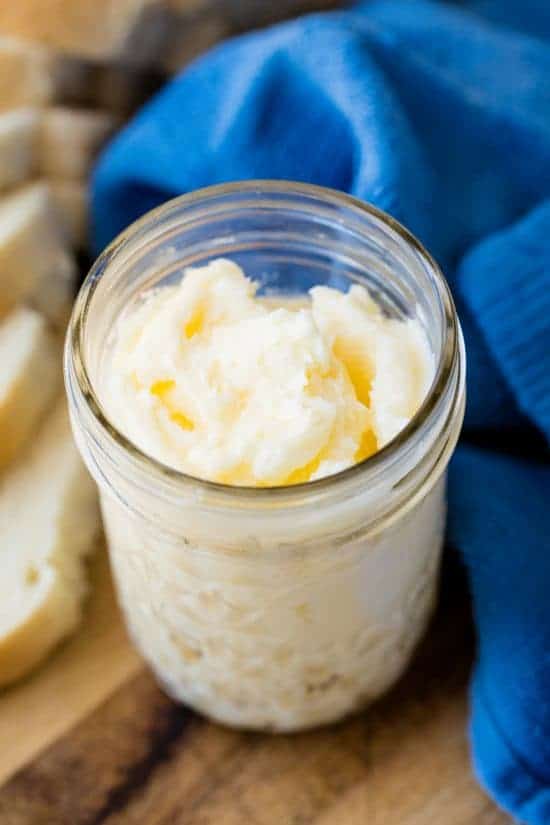
Once you have a nice big mega glob of homemade butter, dump the contents of the jar into a strainer lined with the tea towel or cheese cloth. Don’t forget to catch the liquid with a bowl under the strainer. Then twist the solid butter in the tea towel or cheese cloth a squeeze any excess liquid out. If the actual butter is starting to squeeze though, then you may not have shaken that jar enough and you’ll need to shake some more. Once you get as much liquid out as you possibly can, you can season the butter to taste and put it right back into the (rinsed and dried) mason jar you made it in. Use it immediately or store in the fridge for up to two weeks.
Got Power?
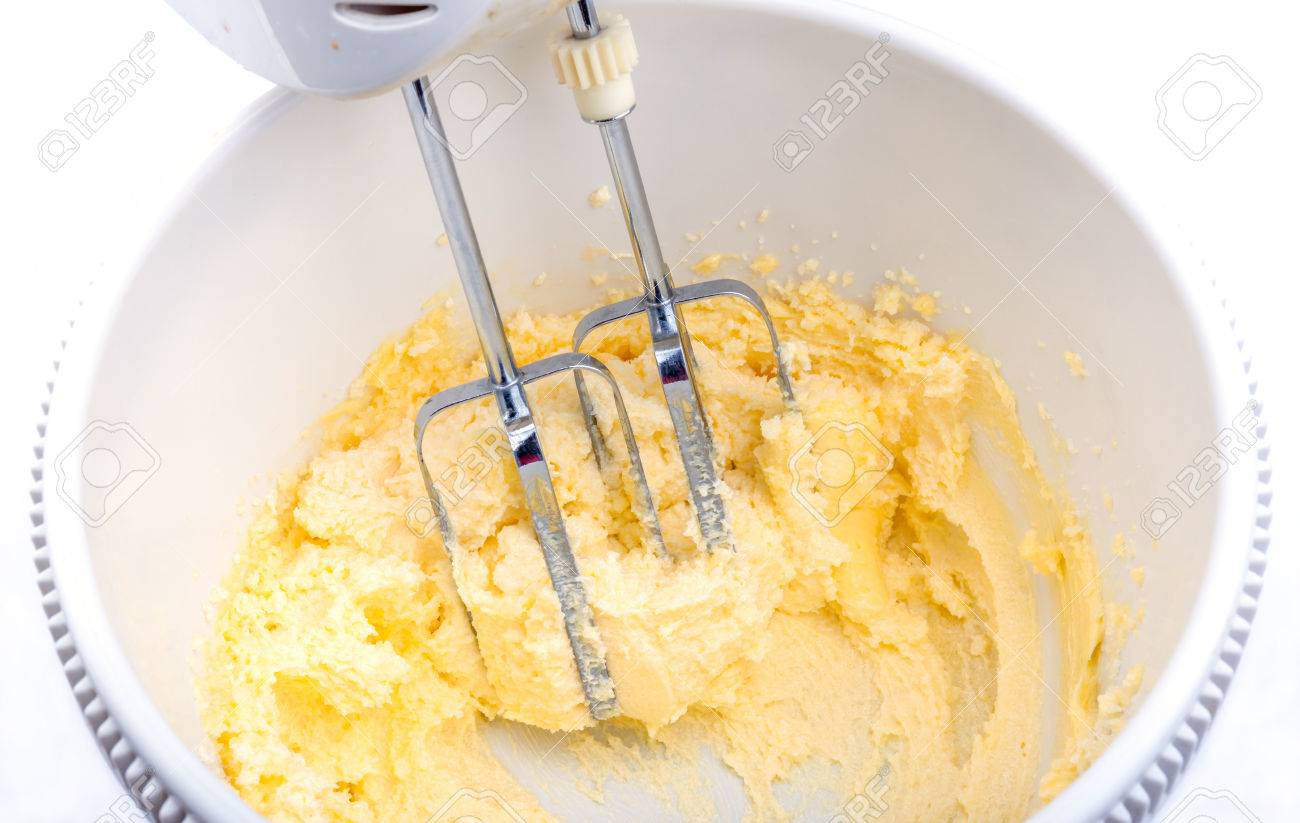
Want to make butter but don’t care for the arm work out? Well instead of pouring the cream into the mason jar, pour it into the bowl of your favorite stand mixer fitted with the whisk attachment. BTW, at this point, you can substitute “food processor” for “stand mixer” and be alright. Whisk on the high side of medium for about ten minutes. At about three minutes you will see the cream become nice and frothy. FYI, if you fold in some powdered sugar and some vanilla extract, you will have the best whipped cream in the world. But we want butter so keep whisking. The foam will start to look dry and even slightly curdled at about minute 6, so gently lower the speed to medium low. Suddenly the fat and liquid will separate! Keep stirring until the globlets make the mega butter glob and repeat the same draining process as the mason jar method.
Preserving The Homemade Butter
While it is best to refrigerate your homemade butter, that may not always be an option. To make your homemade butter last longer (both in the fridge and out), then you will want to add salt AND wash the butter.
Washing the butter is a method of extracting that last bit of water. After squeezing the butter in your tea towel to get water out, you will want to kneed the homemade butter with your hands under COLD running water until the water runs clear. You can also knead it with your hands or a wooden spoon in a bowl of ice water, changing the water every so often until it stays clear while kneading.
Honestly, this is the hardest part of butter making and it took some practice. My first batch of butter melted all over my hands cause my water wasn’t cold enough. If you are only making enough butter for a dinner party, then I would skip this step. If you want to make your butter last at room temp more than a day, or in the fridge longer than two weeks, then it becomes essential and is worth taking the time to learn.
What About That Leftover Liquid?
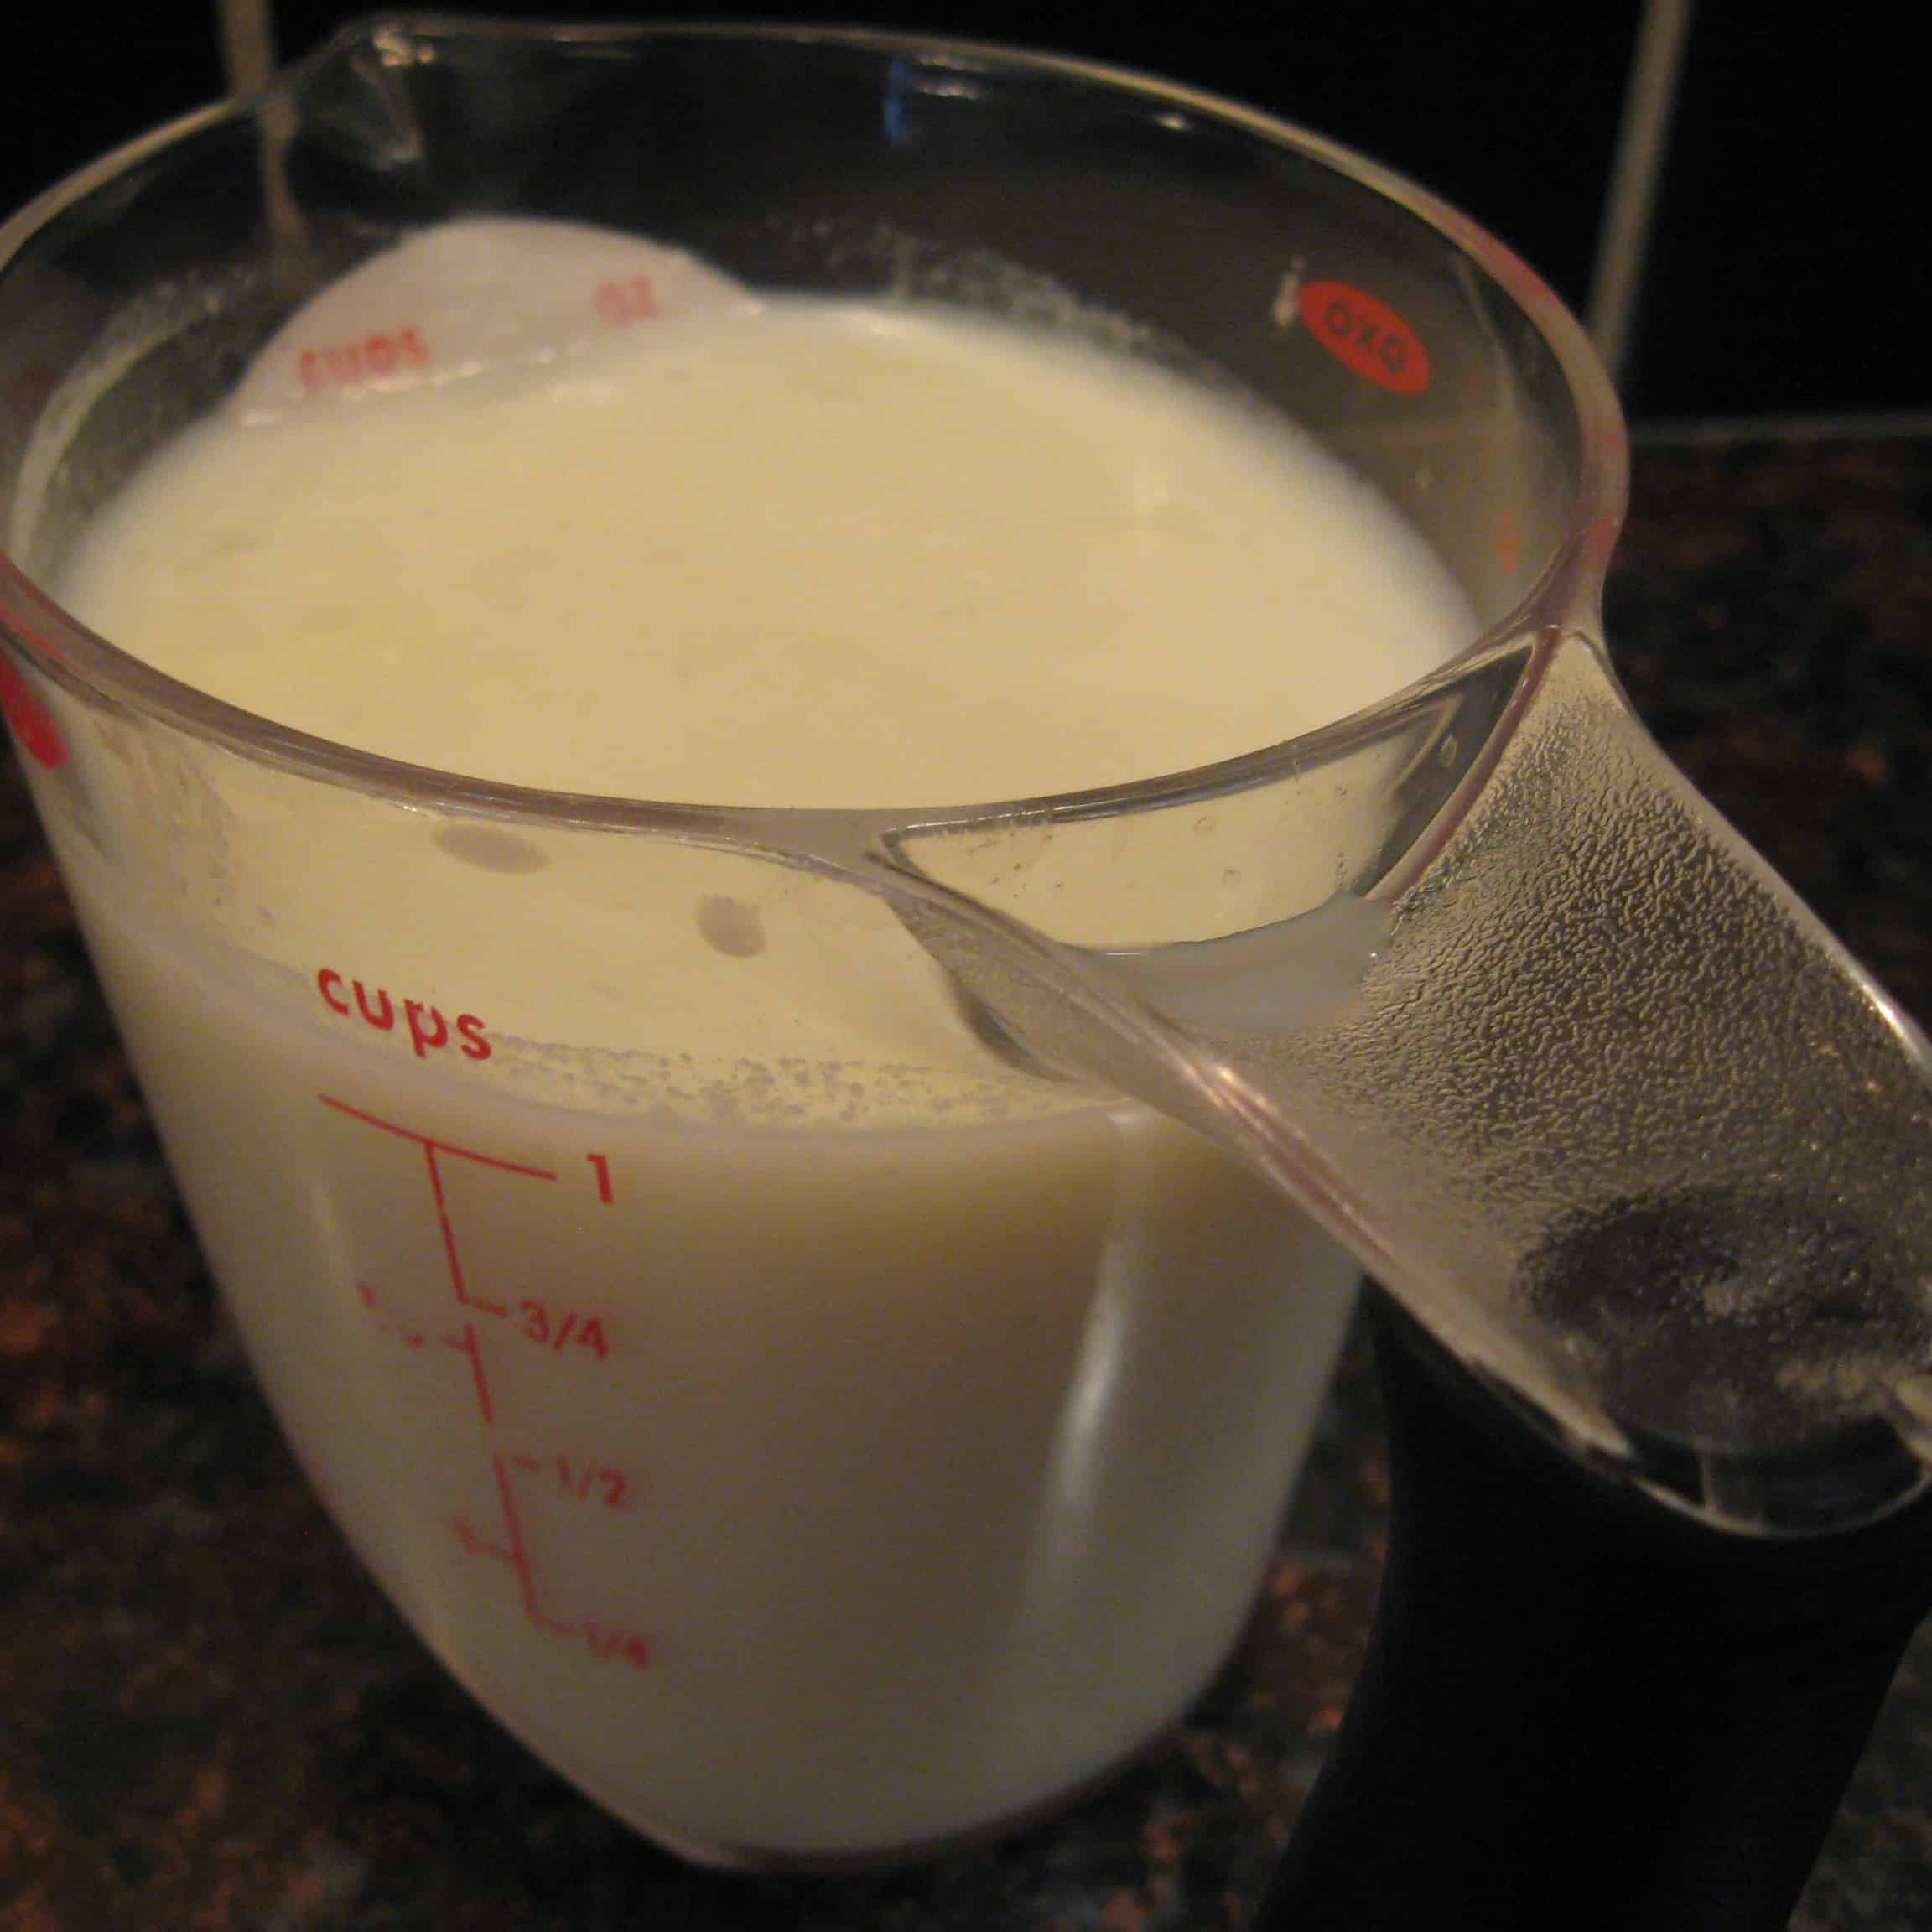
So you have your butter, but you are left with that bowl of thin, white liquid. That friends, is the original buttermilk. If you used raw heavy cream and left in the fridge over night, I’m told it starts to look like what we are used to when we think of buttermilk: thick and tangy. But you guys are probably like me and used pasteurized heavy whipping cream from the store so it looks more like skim milk. You can dump this, but you can also use it to make pancakes or corn bread. I tried to make cottage cheese with mine, and it didn’t work out so well. The recipe is reliable so it was probably user error and I am willing to try again another time.
Butter Is Dandy, But I’m Craving Something A Bit More Fancy
Is your butter a bit too blah? Feel free to add some flavorings!
- For one of the best garlic herb butters out there, just add a teaspoon or so of THRIVE’s Salad Seasoning to every half cup of butter. Great on bread or on top of a freshly grilled steak or chicken breast.
- Want something sweet? Add some honey! I will never forget the look on my roommates’ face when I showed her the “recipe” for honey butter after she had spend the semester buying honey butter from the store for $5 a tub!
- Cinnamon and sugar (mmm waffles!)
- Chili powder, lime, and a touch of hot sauce makes the best friend to grilled corn!
- Dill, chive, and lemon juice is perfect for any fish.
Almost any flavoring can be added to butter. Simply knead it in while making or allow it to soften, mix in your flavorings and re-chill. Be sure to allow the butter about an hour to really take in all the flavorings.
Ta-da! You Have Learned The Art Of Making Homemade Butter!
So now that you know how to make flavorful, fresh butter with little more than some heavy cream and a jar, you will never buy butter from the store again. Okay, you probably will, but you will be set if you ever need (or want) to make your own. Like I said before, this is a great activity for the kiddos; when the holidays come around, pick up some heavy cream and an old mason jar so you will be sure to have something to entertain them while you are making dinner.
I want to hear from you:
- What is your favorite flavored butter?
- Have you made homemade cheese?
- What kid-friendly prepping skill do you know?
- What skill would you like me to take on next?

Becky is a wildlife enthusiast and pet and livestock care expert with a diploma in canine nutrition. With over a decade of experience in animal welfare, Becky lends her expertise to Simple Family Preparedness through insightful info about pets, livestock, bee keeping, and the practicalities of homesteading.
So I tried this last weekend using my kitchen aid. I was amazed how easy it was! I thought there would be more to it than that! I added some herbs and we ate with fresh bread. It was delish! Thanks for the post!
I know! I was floored how simple everything came together, especially in the Kitchen Aid. I’m glad you enjoyed it!
I love making butter from fresh milk. My children fight over who gets to shake the jar until the butter forms. We have made lots and froze what wasn’t going to be used right away. Just be sure to really get all the butter milk out of your butter because after it sits for a while, it can get REALLY stinky and gross 🙁 Thanks for a wonderful post Andrea 🙂
Thanks for the tip Vicki! And congrats on your recent fantastic party!
It really is a fun activity for kids. I can’t wait to make this a family tradition during the holidays (plus throughout the year for fun!) Thanks for your tips!
Just another quick tip, it takes a lot less time for the milk to turn to butter if you let it warm up on the counter for a while. Cold milk can take a long time to turn to butter and your arms will feel like jello afterwards. That would be ok if you want a workout while butter making 🙂
Thank you both!!!
Now THIS is something I wish I would have known!!! I thought having cold cream would help (I didn’t see any tips saying otherwise) so I chilled it! No wonder it took so long…
I can remember when I was a child way back in the late 1950s my grandmother would keep me on Saturdays while my mother and father worked and about once a month she would make butter. I would sit in the floor watching cartoons and shaking a mason jar with cream fresh from the cow. Those were the good old days.
True Don! There is something so “real” about those days!
Thanks for sharing your skills Andrea! I can’t live without butter so this is extremely helpful!!!
Thanks Jamie! I’d be lost without butter (and buttered popcorn) so I knew this was a “must have skill” and I was surprised by how easy it was! Good luck making your own 🙂
THanks for this through and very helpful post Andrea! I’m going to give this a try! And I love your various ideas for flavoring butter….homemade or store bought!
Flavored butters are so easy and really add that extra touch to a nice meal. I loved adding the Thrive salad seasoning for savory butter, but honey butter can’t be beat on a nice piece of sourdough toast in the morning. I’d love to know what fun flavored butters you come up with!