The world as we know it can change at any moment. That’s why following the prepper’s spring to-do list needs to be as comprehensive as possible.
You might have stocked up your pantry once. But the spring is the perfect time of the year for rotating out the inventory and updating your preparations.
Those preppers who have a garden also need to add cleaning up, rotating water storage, and other forms of planning to their list. All these tasks might come rushing in when you start thinking about them — but don’t feel overwhelmed just yet.
Take a deep breath, read on, and check out the following discussion for streamlining your massive to-do list.
Recommended Read: From Grocery to Garden: 40 Plants You Can Regrow from Scraps
How to Rotate Food Storage by Following the Prepper’s Spring To-Do List
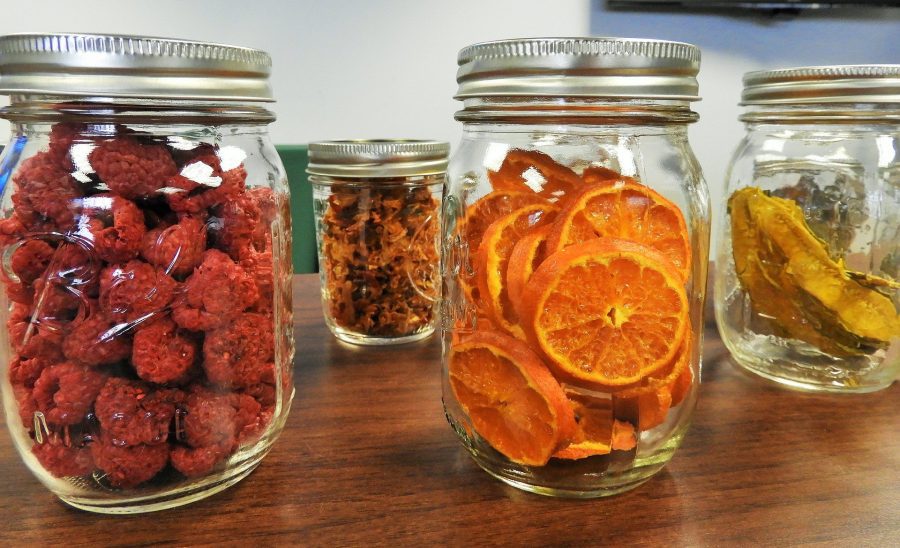
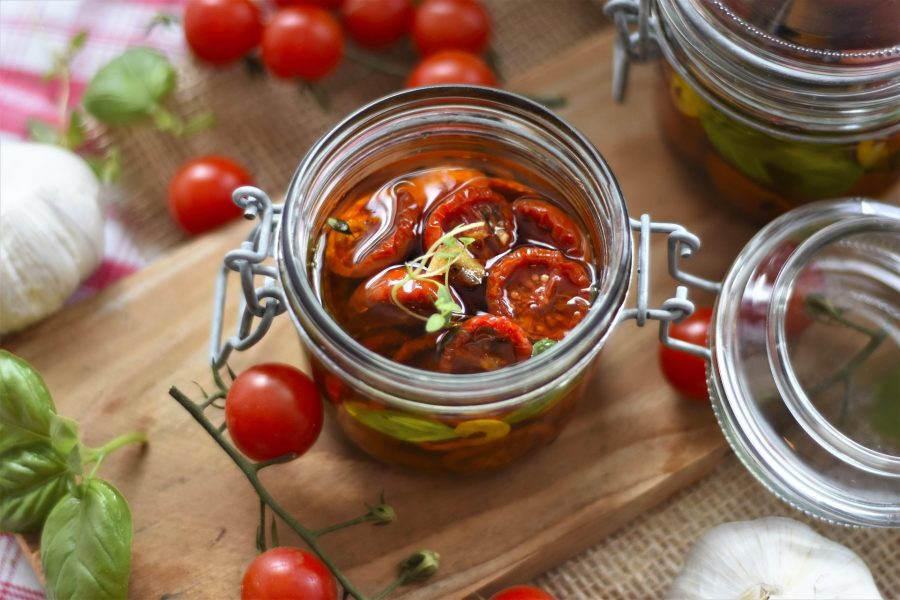
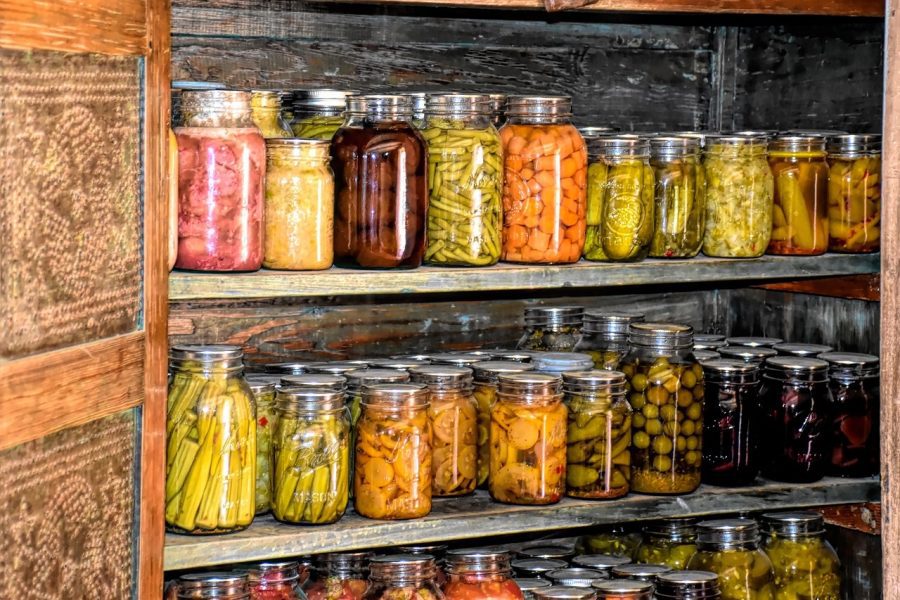
Figuring out how to rotate your food storage is on the top of a prepper’s spring to-do list. This task will allow you to keep your stock as fresh as possible.
One of the best ways to get started is the FIFO method. This stands for “first in, first out,” meaning that you use up the items you’ve first stored away before starting on the new ones.
Start by sorting the items according to their expiration and best-by dates. Stick a little note that reminds everyone which side they should choose a can or container from when they take something from your supply.
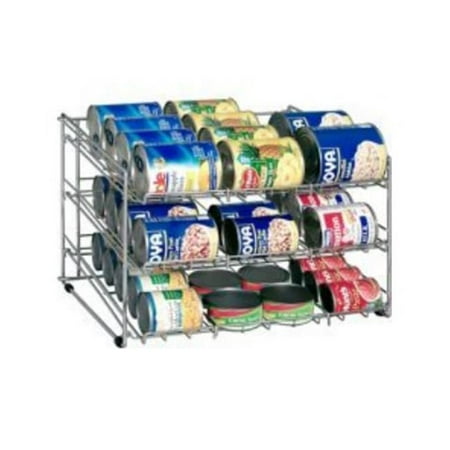
Having slanted shelves or racks can make such a process even easier. You’ll just have to pull the bottom can out, and the next will automatically roll down to take its place.
1. Rotate Canned Corn
Regular food rotation will enable you to check your canned corn and other canned goods for any spoilage. Any bulging cans will have to go out from your pantry.
The same goes for any home-canned foods that are leaking liquid. These are signals that tell us that the content might lead to botulism poisoning, which can be fatal.
When you’re dealing with canned corn and similar items, rotate according to months instead of each separate can.
If your family consumes 10 cans of corn a month, and you want to stock up for three months in advance, put 10 cans each in three bins. That way, you’ll only have to handle three items instead of 30 in one go.
You might also want to stack the cans inside a clear plastic container or bin. This way, it’s much easier to stack cans than if you were to put them in a stack without any containers. You can also buy can racks that could be useful for smaller numbers of units.
2. Rotate Spices and Condiments
Some people think that your dried spices, herbs, and condiments should be purged after a year or a maximum of two years. While it might not be necessary to be this drastic, many spices could indeed lose their flavor if they’re stored for too long.
If you want to get the full potential of your spices, you should try to consume them as early as possible.
While whole spices can last up to two years, ground spices will probably be flavorless after just a year. While tossing them will be painful, it will hopefully be a lesson in how much you need to stock up on in the future.
When stocking up on fresh spices, it’s wise to get the whole variety. Besides, you should get into the habit of grinding them when needed.
3. Inspect for Infestations
Another tip for rotating your food storage is to inspect the items for pest infestations. Droppings, nibbled holes, or other telltale signs will tell you if ants or mice have invaded your pantry.
Recommended Read: How to Choose the Best Food Storage Containers
Put a thorough inspection near the top of your prepper’s spring to-do list before going any further.
If you manage to catch such infestations in time, you’d be able to stop a huge problem before it gets out of hand. Keep in mind that mice, roaches, and ants can get through the tiniest cracks in vents, ceilings, and walls.
When you store food in the home, the stash will be vulnerable to pests. Constant checks are essential in these cases.
4. Keep a Regular Inventory
When you have a comprehensive prepper’s spring to-do list, rotating that food will also enable you to keep a regular inventory.
When your cans and containers are out of sight, they’re likely to slip out of mind as well. This could result in repeat purchases of goods that you have plenty of.
With the technology we have now, it’s much easier to keep an inventory of your pantry items and see what’s in stock. You might want to note everything down on paper first, and then, transfer the data to a spreadsheet online.
You can also keep a soft copy of a tally sheet or running checklist that allows you to update your shelves.
5. Use the Stash Regularly
Food storage rotation also means that you’re regularly using your stash and stocking up when supplies get low. For instance, if you see a lot of canned beans at the store, picking up a few cans is only natural.
However, it’s best to consume the beans that are available in your pantry before buying some more cans.
Consuming the food you want to stock up on will ensure that you only get what’s useful. In case of any emergency, there’s no need to force down food that you don’t like.
6. Date the Cans and Boxes
Your prepper’s spring to-do list should include labeling each item with the date you bought them and the date they expire.
Yes, every can and box of food does have a “best buy” or “expiration date.” But these numbers are usually typed in small text size which is why they’re hard to find.
When you’re putting away your inventory, you should note down the numbers and write them on a large label.
The dates for each item should be clear and easy to read even when you’re in a hurry or viewing the items in low light. With this information, it’ll be much easier to get your prepper’s spring to-do list done.
7. Store Similar Items Together
Locating certain items on your pantry shelves should be as easy as possible. That’s why every prepper’s spring to-do list should include storing items at the same location.
For instance, you can keep the tomato sauce, canned tomatoes, and spaghetti sauce in a specific area of the pantry.
The same rule goes for beans and bean products, soups, snacks, and so on. That way, it won’t just be easier to locate stuff but also find substitutes in case you run out of a certain item.
8. Label the Shelves
Besides labeling the individual items, it’s also a good idea to label the shelves they stand on.
When you’ve labeled where each item goes, it’ll be easier and quicker to put everything away. If there’s an empty spot, you’ll know what to add to the “to buy” section of your prepper’s spring to-do list.
Plus, this also means that you can delegate some of the grunt work for good. Children, spouses, and even guests will be able to put away or locate stock without much trouble once you follow the labeling system.
9. Store According to Weight
If some items in your pantry are heavy, it’s best to store them on the lowest shelves. This trick means that there’s less weight on the shelves in general. There will also be fewer chances of dropping a heavy item while lifting large cans of chili, soup, etc.
If one of these bulky storage cans or containers falls off a high shelf, it could injure you or someone else. Not to mention, the force will probably cause an explosion and waste all that precious food.
10. Pull out Items
When you’re zipping through your prepper’s spring to-do list, keep in mind that there will be certain items rolling around in your storage for quite some time.
Make some time, pull these out, and place them outside for everyday use. Update your prepper’s spring to-do list to ensure that you replace the used items.
With this precaution, you won’t be wasting food and might be saving on groceries every week.
Prepper’s Spring To-Do List: Water Storage
Those who have their gardens must add several more tasks to their prepper’s spring to-do list. In addition to cleaning out that space, you also have to rotate the water storage.
This might seem like a confusing task, especially with the different pieces of advice from your social circle. Let’s discuss this important part of your prepper’s spring to-do list to clear up the mystery:
Why You Should Rotate Water Storage?
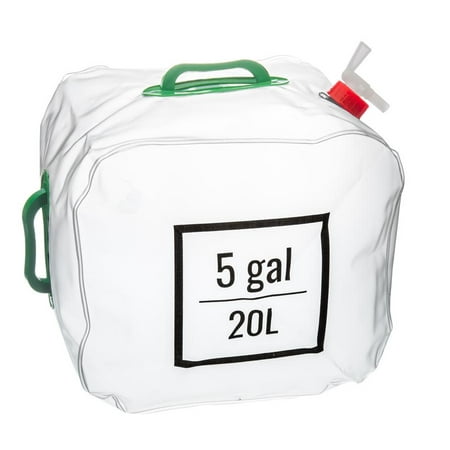
When you have properly treated water and can store it in perfect conditions or if you are using store-bought bottled water, it might be possible to not rotate the water at all. However, having a rotation schedule will ensure that your water stays drinkable.
When water stays stagnant, it invites the growth of algae, bacteria, and other invasive elements. These will not just make the water unpleasant to drink but it will be bad for your health at the same time.
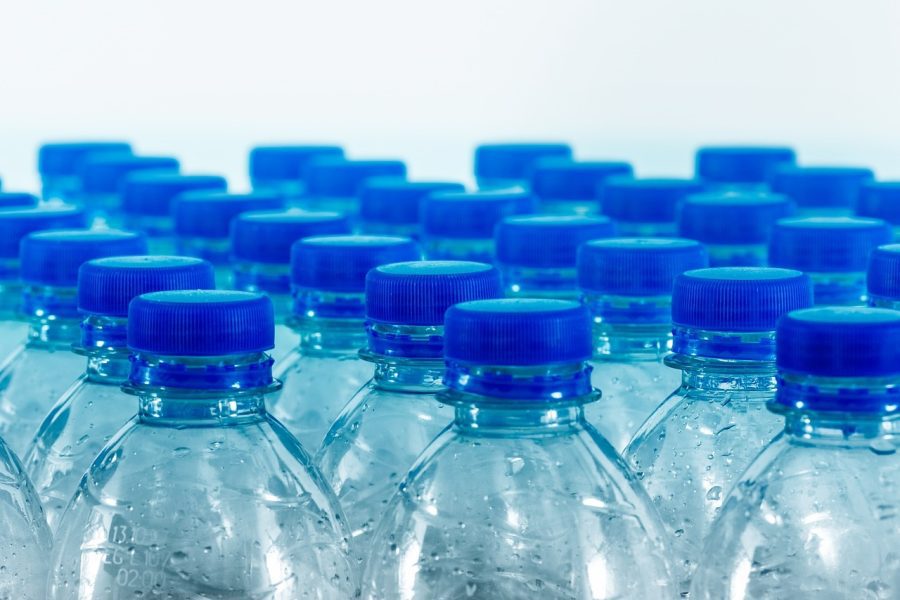
If you buy water from the store, keep in mind that it should be rotated out by the expiration date printed on it. The plastic in its containers will break down over time and leach chemicals. So, you should get rid of it beforehand. However, store-bought bottled water can basically last forever despite expiration dates.
Reusing containers is also risky as the remnants of food and water in them might contaminate your new water quickly. Even if you’re careful to buy from the top brands, air contamination is always something to consider.
How to Rotate Water Storage
There are several recommendations about the number of times you should rotate any sort of water storage. Some people say that the rotation is best within a year, a few months, a few years, or not at all. How soon does bottled water expire? The answer is simple – correctly stored, sealed bottled water doesn’t expire. However, there is more to it.
Believe it or not, it’s best to check on the water after six months, but if you remember each spring that should be fine. If it has any smell or tastes off, you may need to rotate it. Plastic can be somewhat permeable, allowing gasses to penetrate, so especially when stored near strong-smelling things like solvents, water can take on odors even when in containers.
You might also want to put in some additives to make sure the water lasts even longer. You should already be storing the water in a cool and dark place, in dark green or blue containers that are opaque to keep away the light, to avoid algae growth.
No one wants to waste water. However, you may find that you need to rotate out part of your water storage due to many different reasons. In that case, it’s best to make use of it, instead of simply pouring it out.
How to Make Use of Excess Water
If you rotate your water storage, you will have excess water at your disposal. You don’t want to waste all this water. Fortunately, there are automated ways to accomplish it.
Some water storage tanks on the market today have self-rotating and automatic shut-off features.
But if you want to manually rotate stored water, here’s what you can do with the excess:
- Water the gardens, lawn, or houseplants with the old water
- Use it for flushing the toilets to save on the water bill
- Run some laundry loads with the old water
- Wash cars and other vehicles like bikes, trucks, etc.
- Purify the water and use it for cooking purposes if possible
- Give the pets a bath
- Share with those who may need it
Start Your Prepper’s Spring To-Do List!
When you think about your prepper’s spring to-do list, the number of tasks could seem like a bit too much. However, if you buckle down and start today, you’ll soon see a massive difference in how your pantry looks and operates.
Organizing and maintaining your pantry will also ensure that you stay prepared for any emergency. It’ll take a bit of work. So, get some helpers on hand if possible.
You should also give serious thought to rotating water as this is a necessity of life and shouldn’t play havoc with your health. Do share your thoughts if you know a unique way of rotating your pantry or water storage. We’d love to know!
Prepper’s Spring To-Do Checklist: Pantry Edition
- Rotate canned goods
- Rotate dry goods
- Rotate spices
- Rotate condiments
- Update inventory list
- Check for any type of infestation
- Update labels on items with easy to read dates
- Reorganize shelves so items are easy to find
- Update labels on shelves
- Rotate water storage according to the date
- Use excess water around the house

Becky is a wildlife enthusiast and pet and livestock care expert with a diploma in canine nutrition. With over a decade of experience in animal welfare, Becky lends her expertise to Simple Family Preparedness through insightful info about pets, livestock, bee keeping, and the practicalities of homesteading.