There are so many skills needed to really get your family prepared for any emergency.
In this article we are going to cover how to make your matches waterproof so you can make sure you have a flame when you need it.
You can buy waterproof matches, but they tend to be pretty penny more compared to the basic ones you can get at your local dollar store.
I do use waterproof matches on occasion, like when we go camping in less than ideal weather or if we go kayaking. Otherwise, I like to stick to the traditional strike anywhere matches.
Being able to waterproof my own means I don’t have to buy two different types of matches.
Plus, if I run out of waterproof matches, I don’t have to run out to the market! I can just make what I need out of what I have on hand!
Waterproofing matches supplies
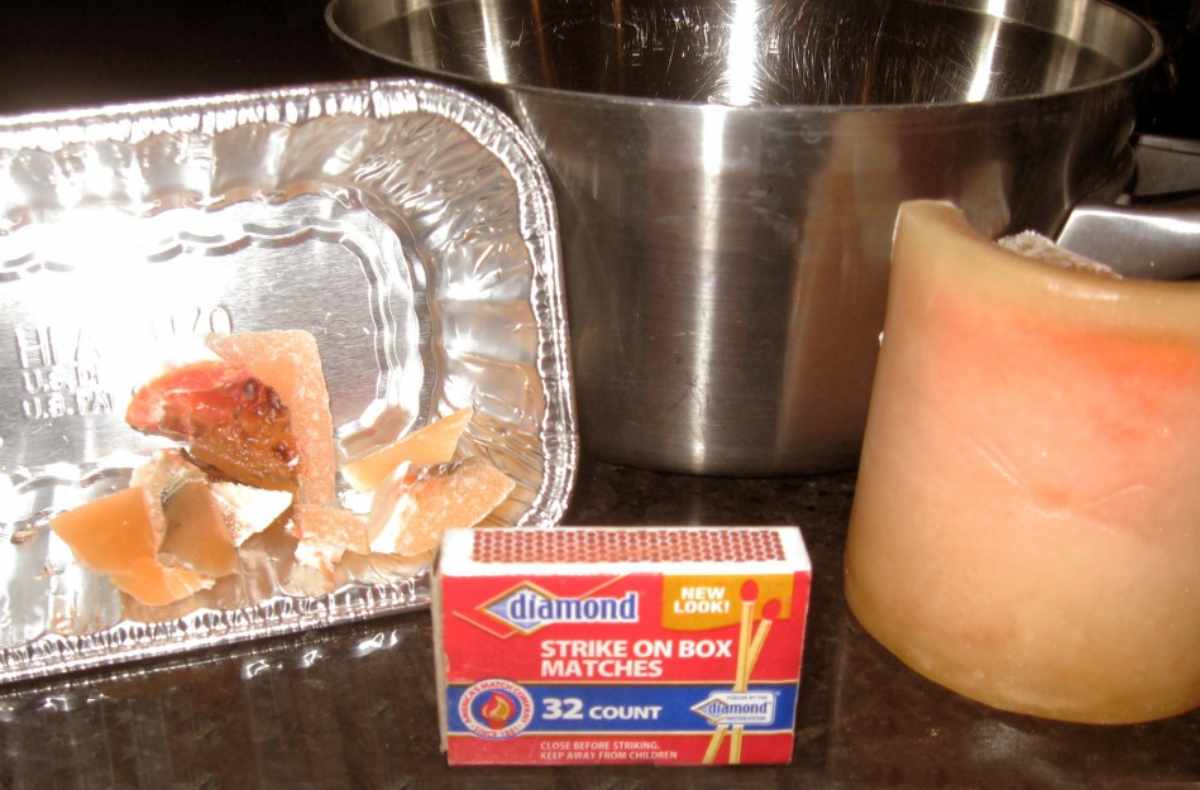
Below are the supplies you will need to be able create these diy waterproof matches.
- Matches – does not really matter what kind, matchbook or boxed is fine
- Wax – I usually use the left overs from various half-used candles around my home
- A pot filled with 1-2 inches of water
- A disposable metal pan – this will make clean up much easier
- Double-sided tape
- A small box

Process for waterproofing matches
- Break up your wax into small pieces. Put the wax bits into the metal pan and float it in the pot of water and gently melt the wax over low heat. Be sure not to over heat the wax as there is a small risk of ignition.
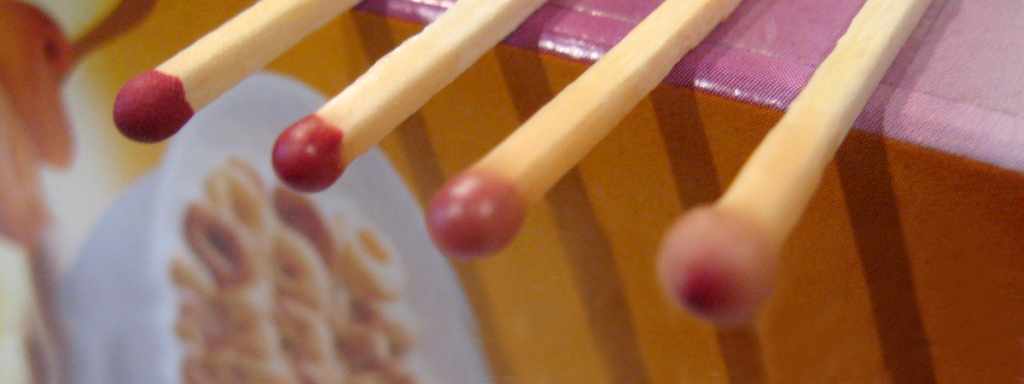
- While the wax is melting, create your drying rig. Affix a strip of the double-sided tape to the edge of the box. You may wish to place a piece of paper underneath to catch any wax drips.
- Individually dip each match head into the warm wax. Covering the head plus an additional quarter-inch of the match.
- Stick each match to the double-sided tape so that they can dry. Be sure to allow the wax part to hang over the edge of the box (see image below). It shouldn’t take long for the matches to dry, but give them about a half-hour to fully harden before handling. If you wish, you can re-dip each match for even better water proofing.

Storing Waterproof Matches
You can store matches in their original box, though I don’t recommend mixing water-proofed and non-water-proofed matches.
For even better water protection, especially when roughing it, you can store matches in a water tight container. We even have a portable container that can hang from your neck or backpack that we keep some in.
Both are inexpensive and worth it to protect your matches. I am always careful to store a striker with my matches, even if I use the “strike anywhere” styles, just for the added convenience.
While I have been using this method to waterproof my matches for years without any issues, there are actually several methods people use.
Perhaps the most popular method, after wax, includes dipping them in turpentine or nail polish.
You can find a great tutorial for these method here.
I’ve used turpentine dipped matches and I really do like them, but I find that I don’t readily have turpentine on hand all the time and matches treated with turpentine are difficult to identify from non-treated matches.
I do have several bottles of nail polish around, but wax is cheap, always available around my home, and is very easy to use.
One final note: if you live in an area that is prone to flooding or hurricanes, it may be worthwhile to buy a few packs of these super amazing Storm-Proof Matches. You can light them, submerge them in water, and they will relight themselves again! Take a moment to watch the link, and be prepared to be impressed.
They are more than your average matches, but still affordable for less than $4 per box. They also have a longer burn time and can resist high winds. I wouldn’t use them for my day-to-day needs, but they would be invaluable during an emergency.
Becky is a wildlife enthusiast and pet and livestock care expert with a diploma in canine nutrition. With over a decade of experience in animal welfare, Becky lends her expertise to Simple Family Preparedness through insightful info about pets, livestock, bee keeping, and the practicalities of homesteading.


I like to use one of those inexpensive butane lighters. I buy them in 3-packs. One goes with me whenever I hike or camp. Many more lights per volume than matches.
Is there a downside compared to waterproof matches?
I usually have several methods of starting a fire just as a back up to my back up, so in addition to matches (waterproof of not) I usually have a Blastmatch and a butane lighter in my camping gear. The only downside I’ve found with those lighters is that they can leak. I’ve found that the cheaper the lighter, the more likely it is to crack and make a mess in my pack.
Thanks so much for the tips! Always interested in learning more survival skills! looking forward to your next post!
My dad dipped ours in vasiline, then stored them in a pill prescription bottle (the orange ones with the white lid). He would then put that in a small waterproof container he kept on/near him during camp outs.
This is a trick I learned years ago when I was in the Boy Scouts. I love to see so much of the basic “old school” stuff finally coming back around. Are you familiar with the Foxfire books? I remember reading through these as a teenager and now wish I had copies as i remember the vast amount of “primitive” information they contained. They may contain something that you could borrow… 🙂
My mom had one of the Foxfire books she got at a yard sale. It got lost somehow and I am wanting to replace it for her. I found several of them on Amazon, but I am sure that you can get them other places as well.
I’m actually looking at my brother’s old scout books for ideas, as well as talking to the nice little old ladies around my area. Both are a wealth of information in the lost arts of survival. I’ll have to check out the Firefox books as well.
What a cool idea for a series. I am all for doing it myself whenever I can. I have used waterproof matches before and they didn’t light very well, so I don’t know if they were old or just a bad batch. I am going to try making my own and see what happens. I can’t wait to see what you come up with next month. I have only been doing the emergency preparedness planning for a few months, so I am not even sure what skills I should know. Keep the information coming and thanks.
Thank you so much! I hope you have a better experience with you home-made matches. I know some people prefer to gently scrape the wax off the match head before lighting. If you do a thin coating, it typically isn’t needed. Feel free to test a few!
I believe that skills are just as important as supplies when it comes to your emergency arsenal and I’m excited to be learning along with all of you. If you have any ideas about skills you would like to learn more about, please let me know. I’m looking for as many ideas as possible!