Today I will share the secret of how to successfully can green beans at home!
Even though my garden was not as large as it has normally been, I’ve still been reaping the benefits of fresh garden produce from friends and co-workers.
This week a co-worker generously offered me a bag of fresh-picked green beans. Who could refuse that? That is why this week I decided to offer up a guide to canning green beans at home.
So, let’s get started.
The basics for canning green beans
The process of canning green beans requires pressure canning instead of hot water bath canning because they are a low acid food and these will not be pickled.
Don’t worry, it is not difficult. You will still need all your basic canning supplies, a clean environment, and great string beans to work with.
The ingredient list is simple too. All you will need is:
- Green beans
- Water
- Salt
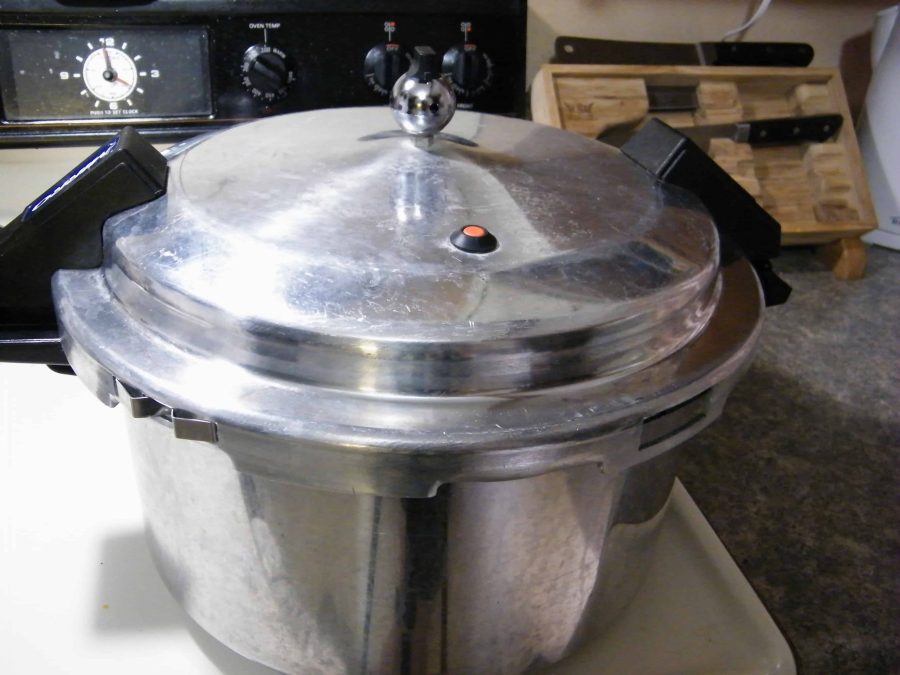
You will need a pressure canner/cooker for this recipe.
Green bean pressure canning tips
When using your specific pressure canner, make sure you read the instructions that came with it. While I can offer a general guide on how to use yours, the time and process may vary a bit by manufacturer and type of canner you have.
In most cases you will need to put a few quarts in your canner to start and add your jars with the lids on.
Then, properly attach the cover, let the steam release, and let the pressure build.
Finally, cook for the allotted time and then cool down.
I have two different pressure canners and both came with booklets that explain this process very well. So, trust your pressure canner’s instructions!
3 Steps to can green beans at home
The information above should have gave you enough information to get started, so just follow the simple steps below for canned goodness.
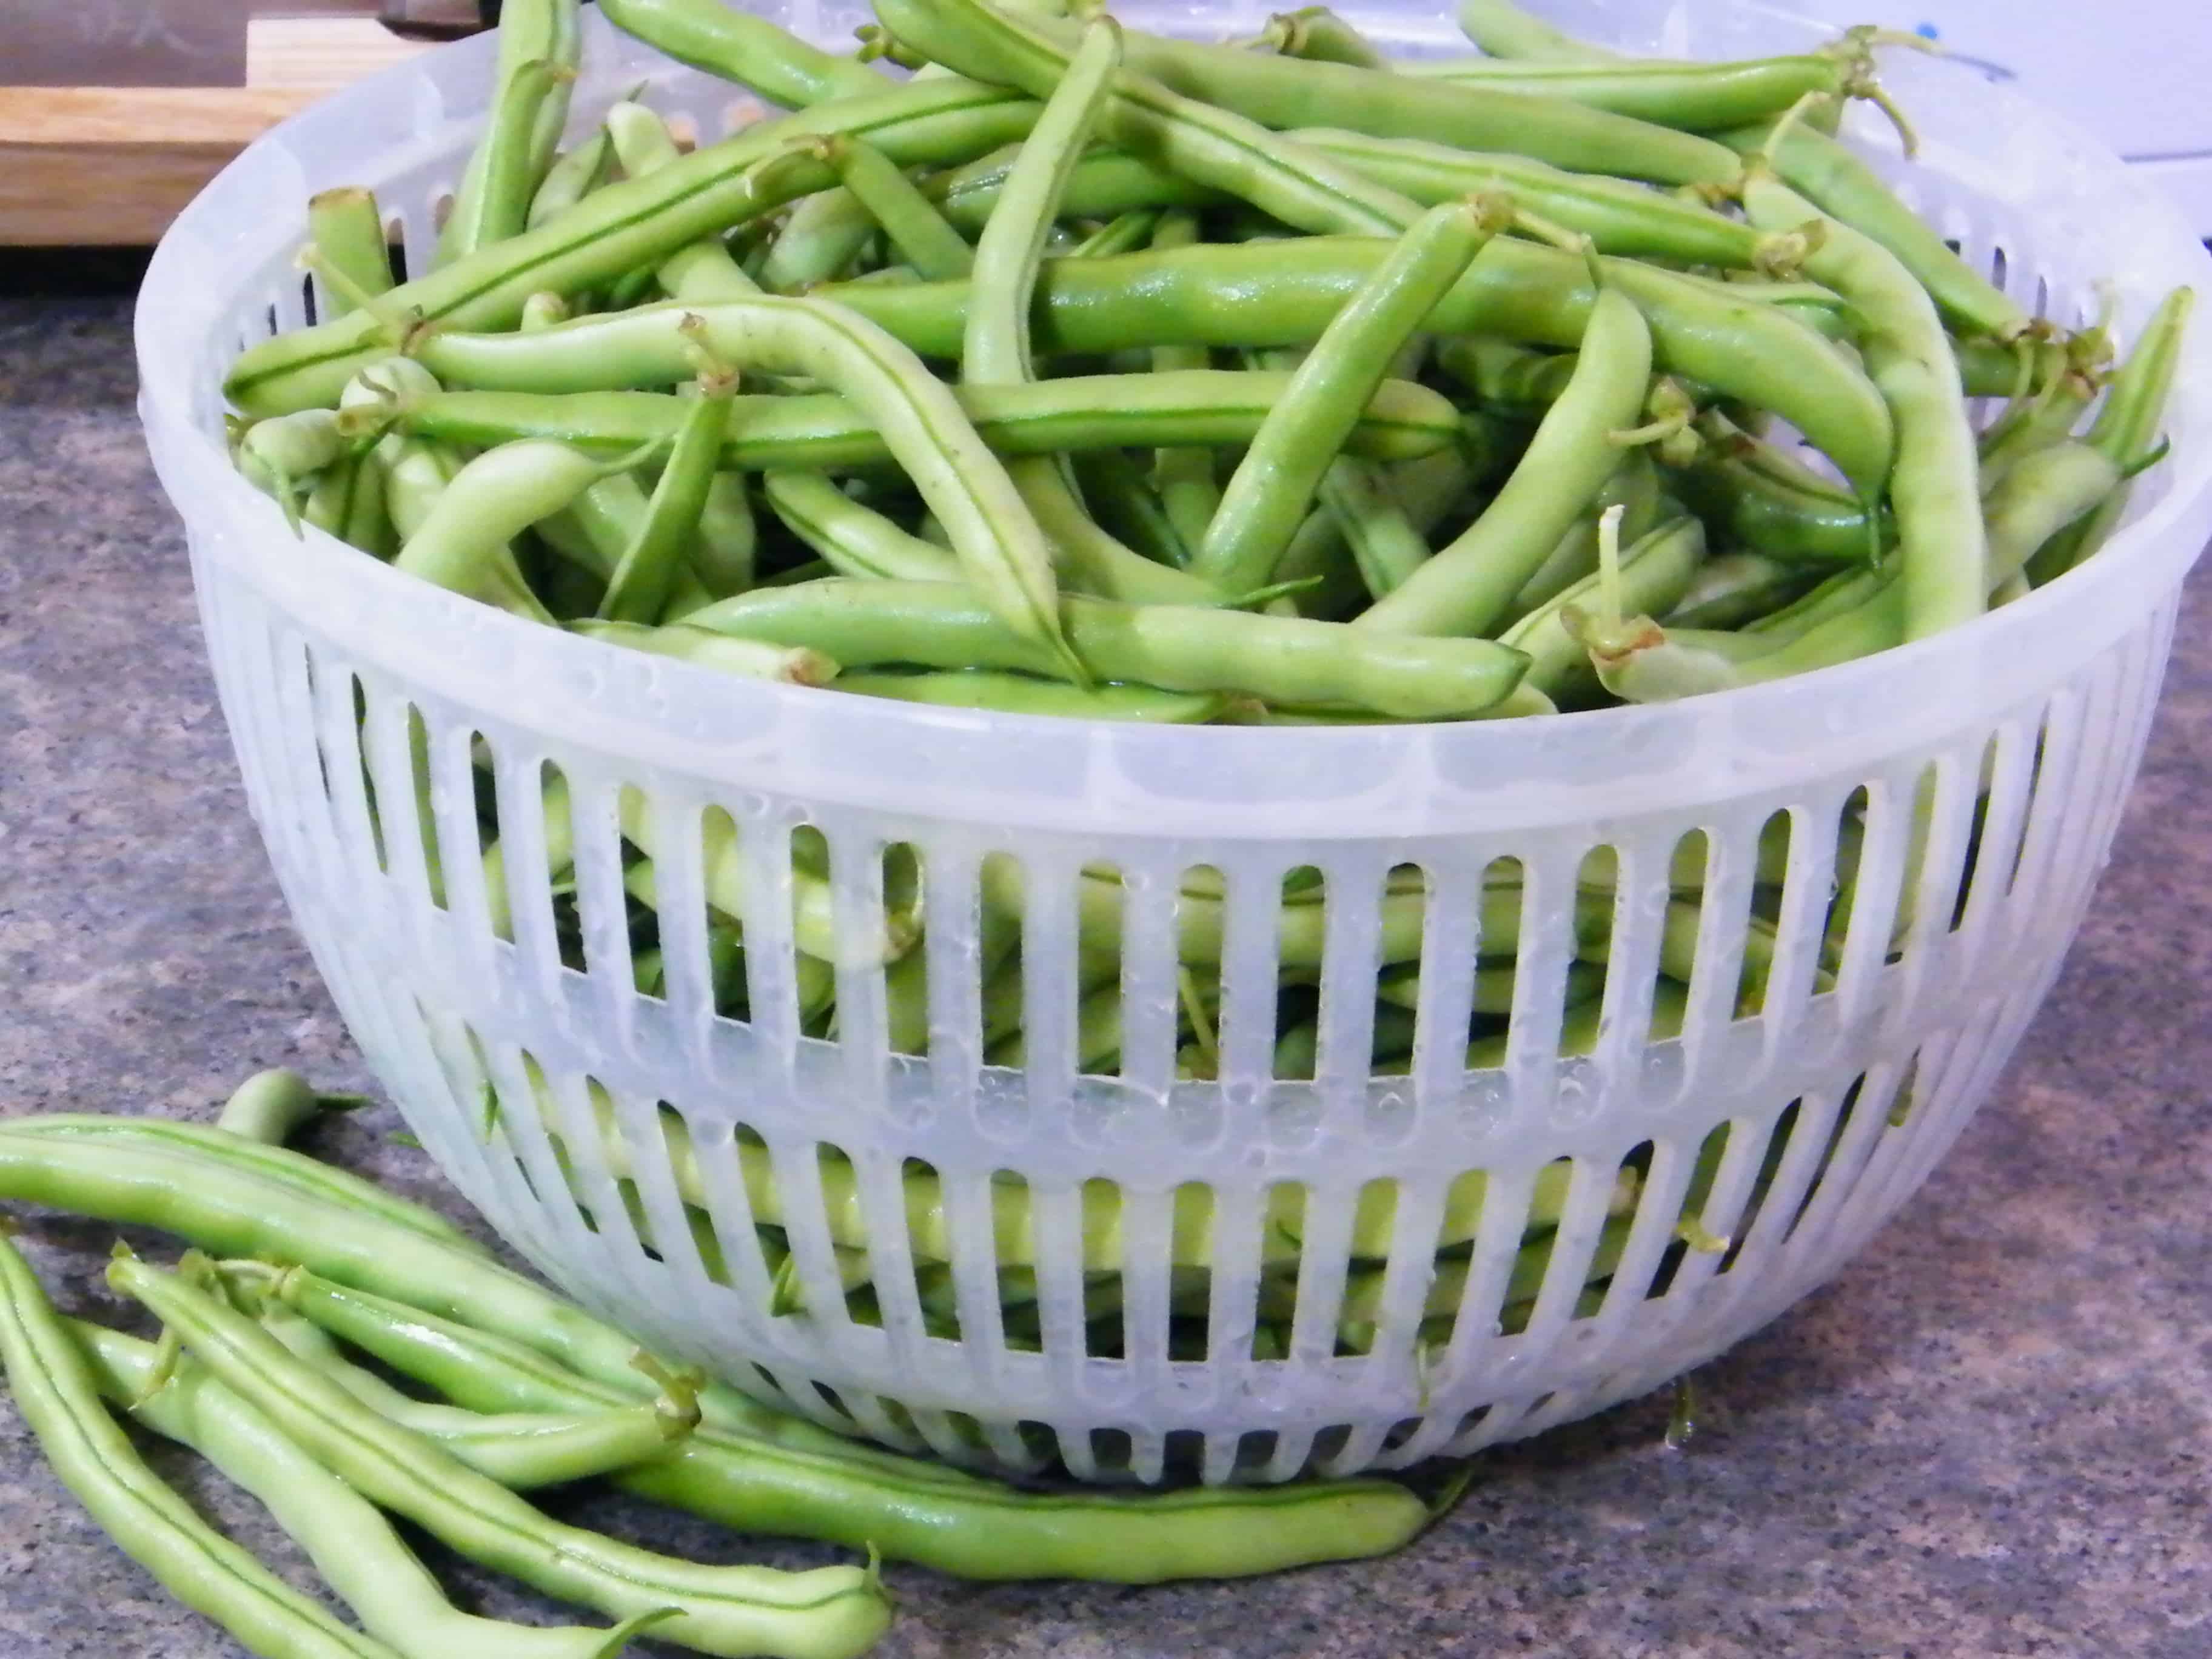
1. Gather and prep ingredients
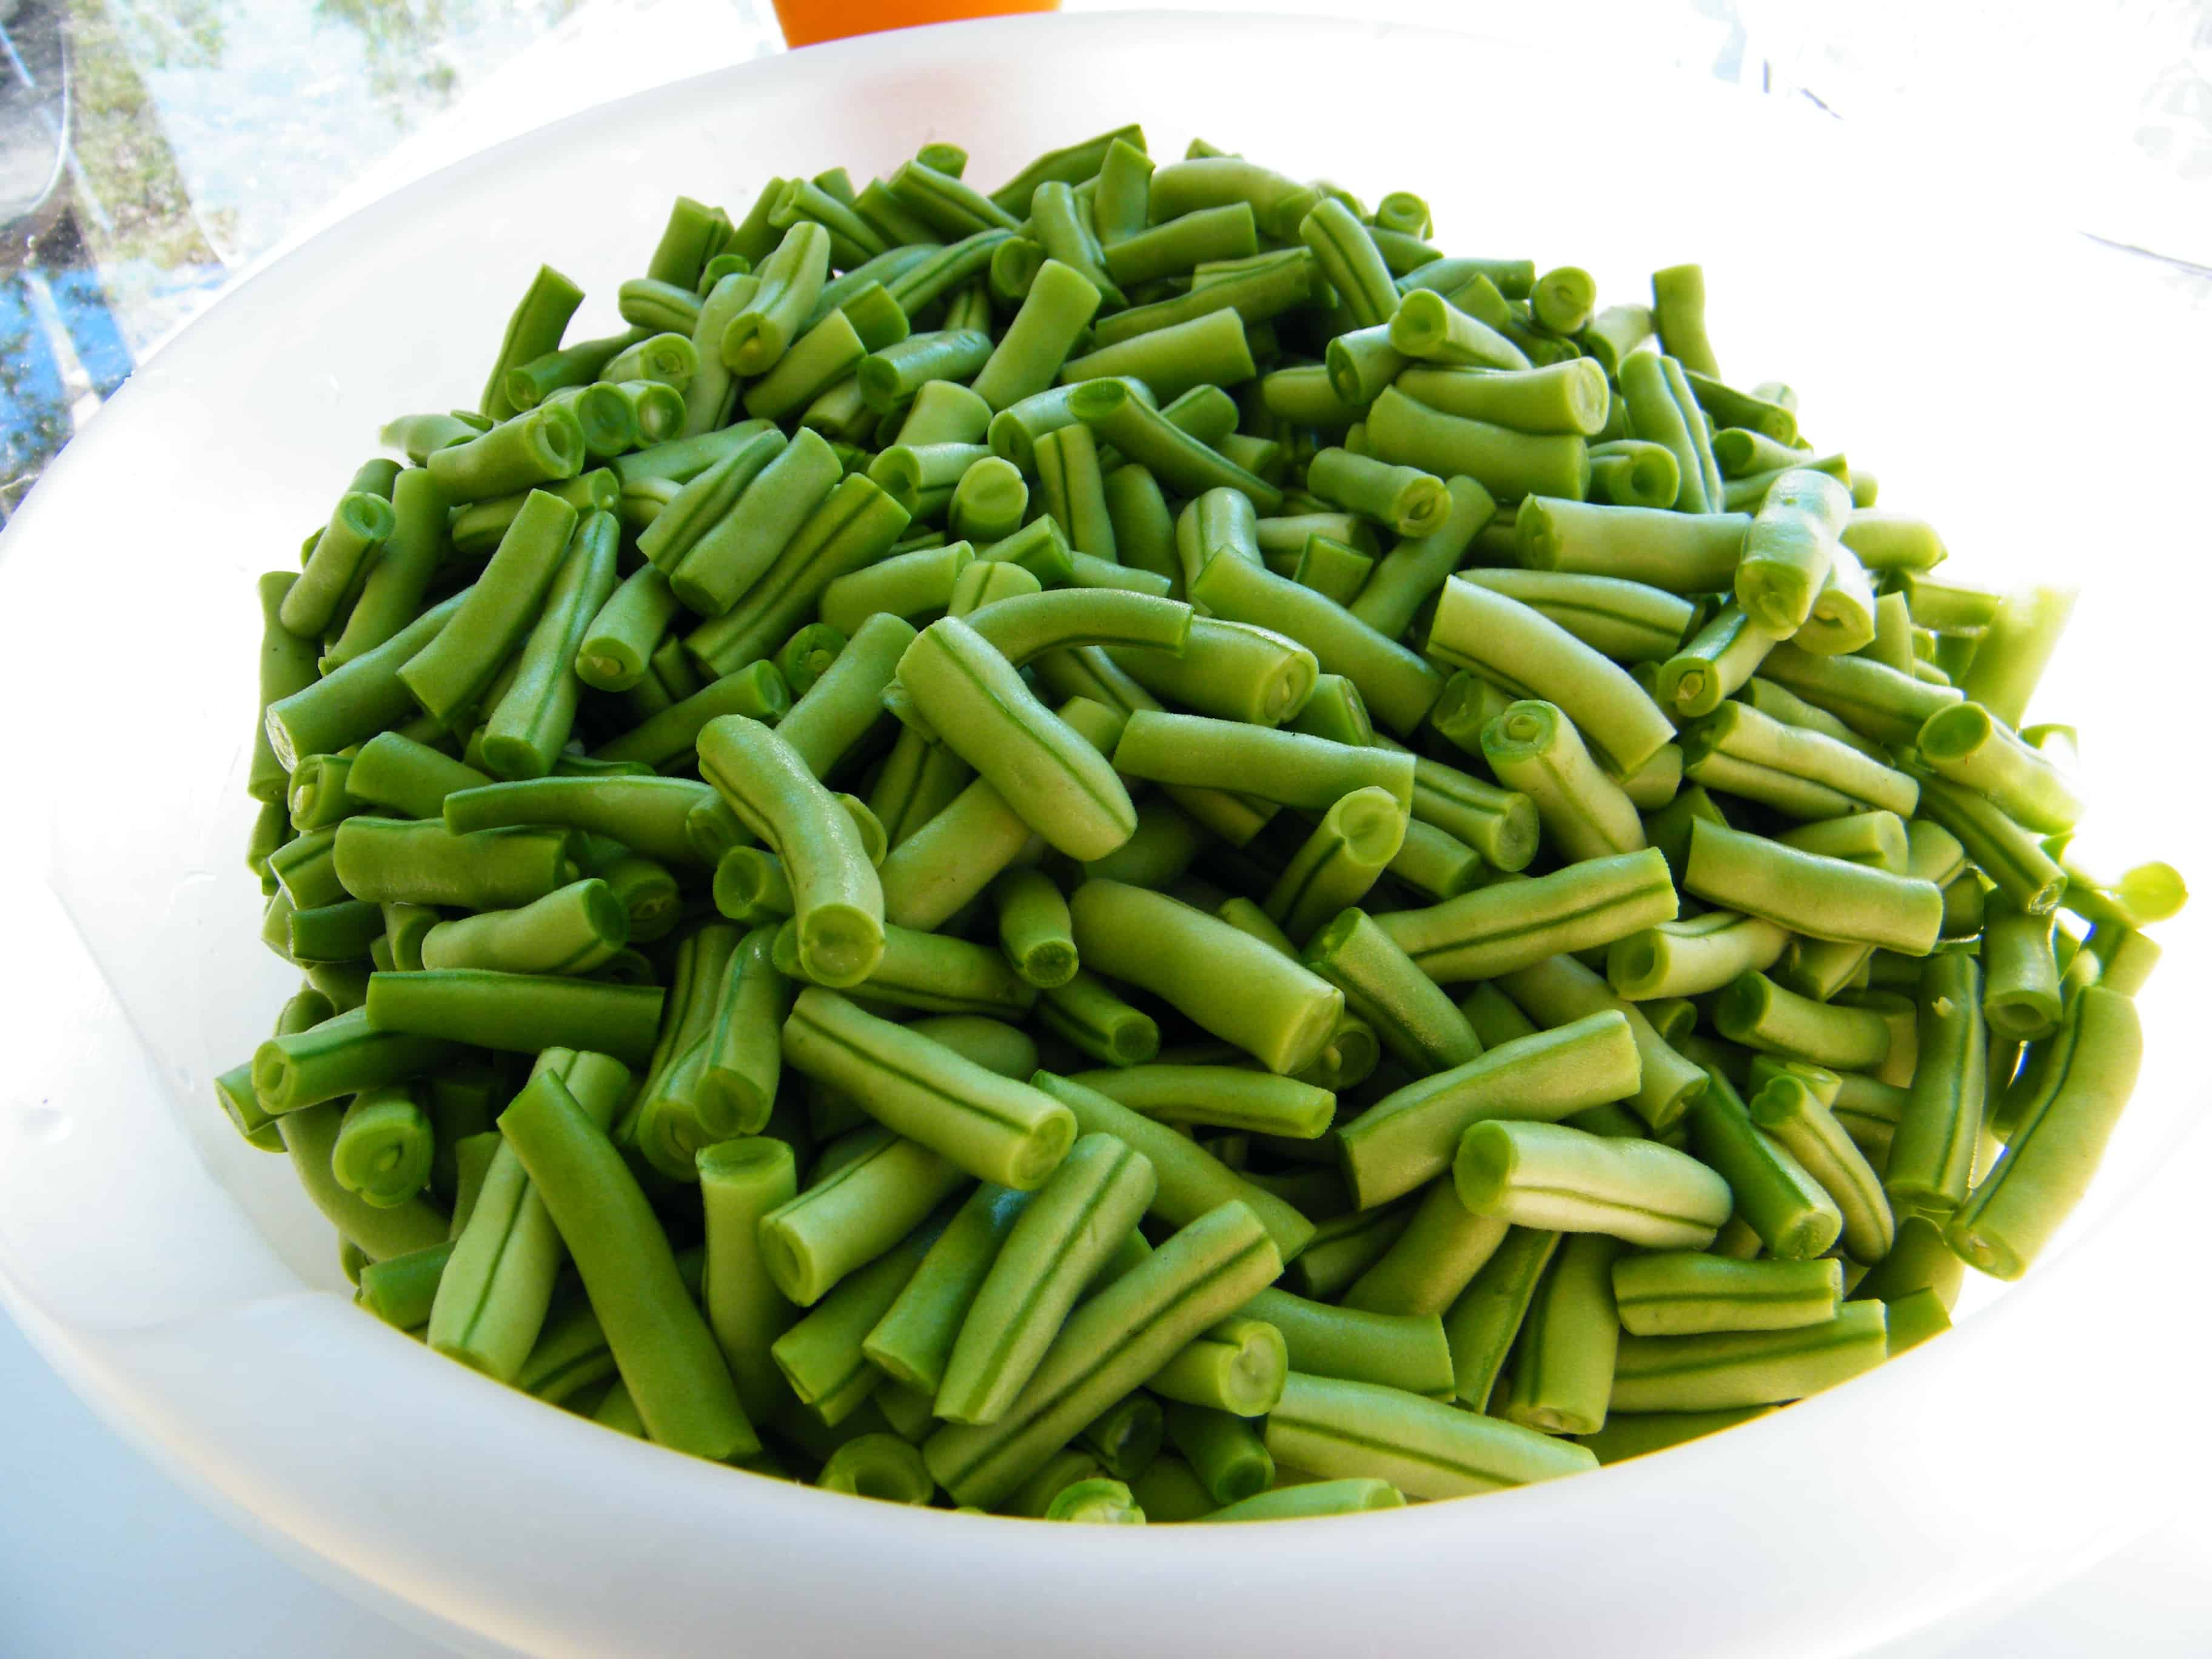
To start the process you should clean and prep your green beans. To properly prepare green beans you should wash, trim both ends and cut them into 1-2″ pieces.
2 Fill jars
Today I used the raw pack method for my beans.
After trimming and cutting the beans, I pack them tightly into hot sterilized pint jars leaving 1″ headspace.
At this point, you can add a 1/2 teaspoon of salt to each pint if you desire (1 teaspoon per quart).
Once the jars are filled with the beans, fill them with boiling water again leaving 1″ headspace.
Finally, remove air bubbles and place lids and rings on jars.
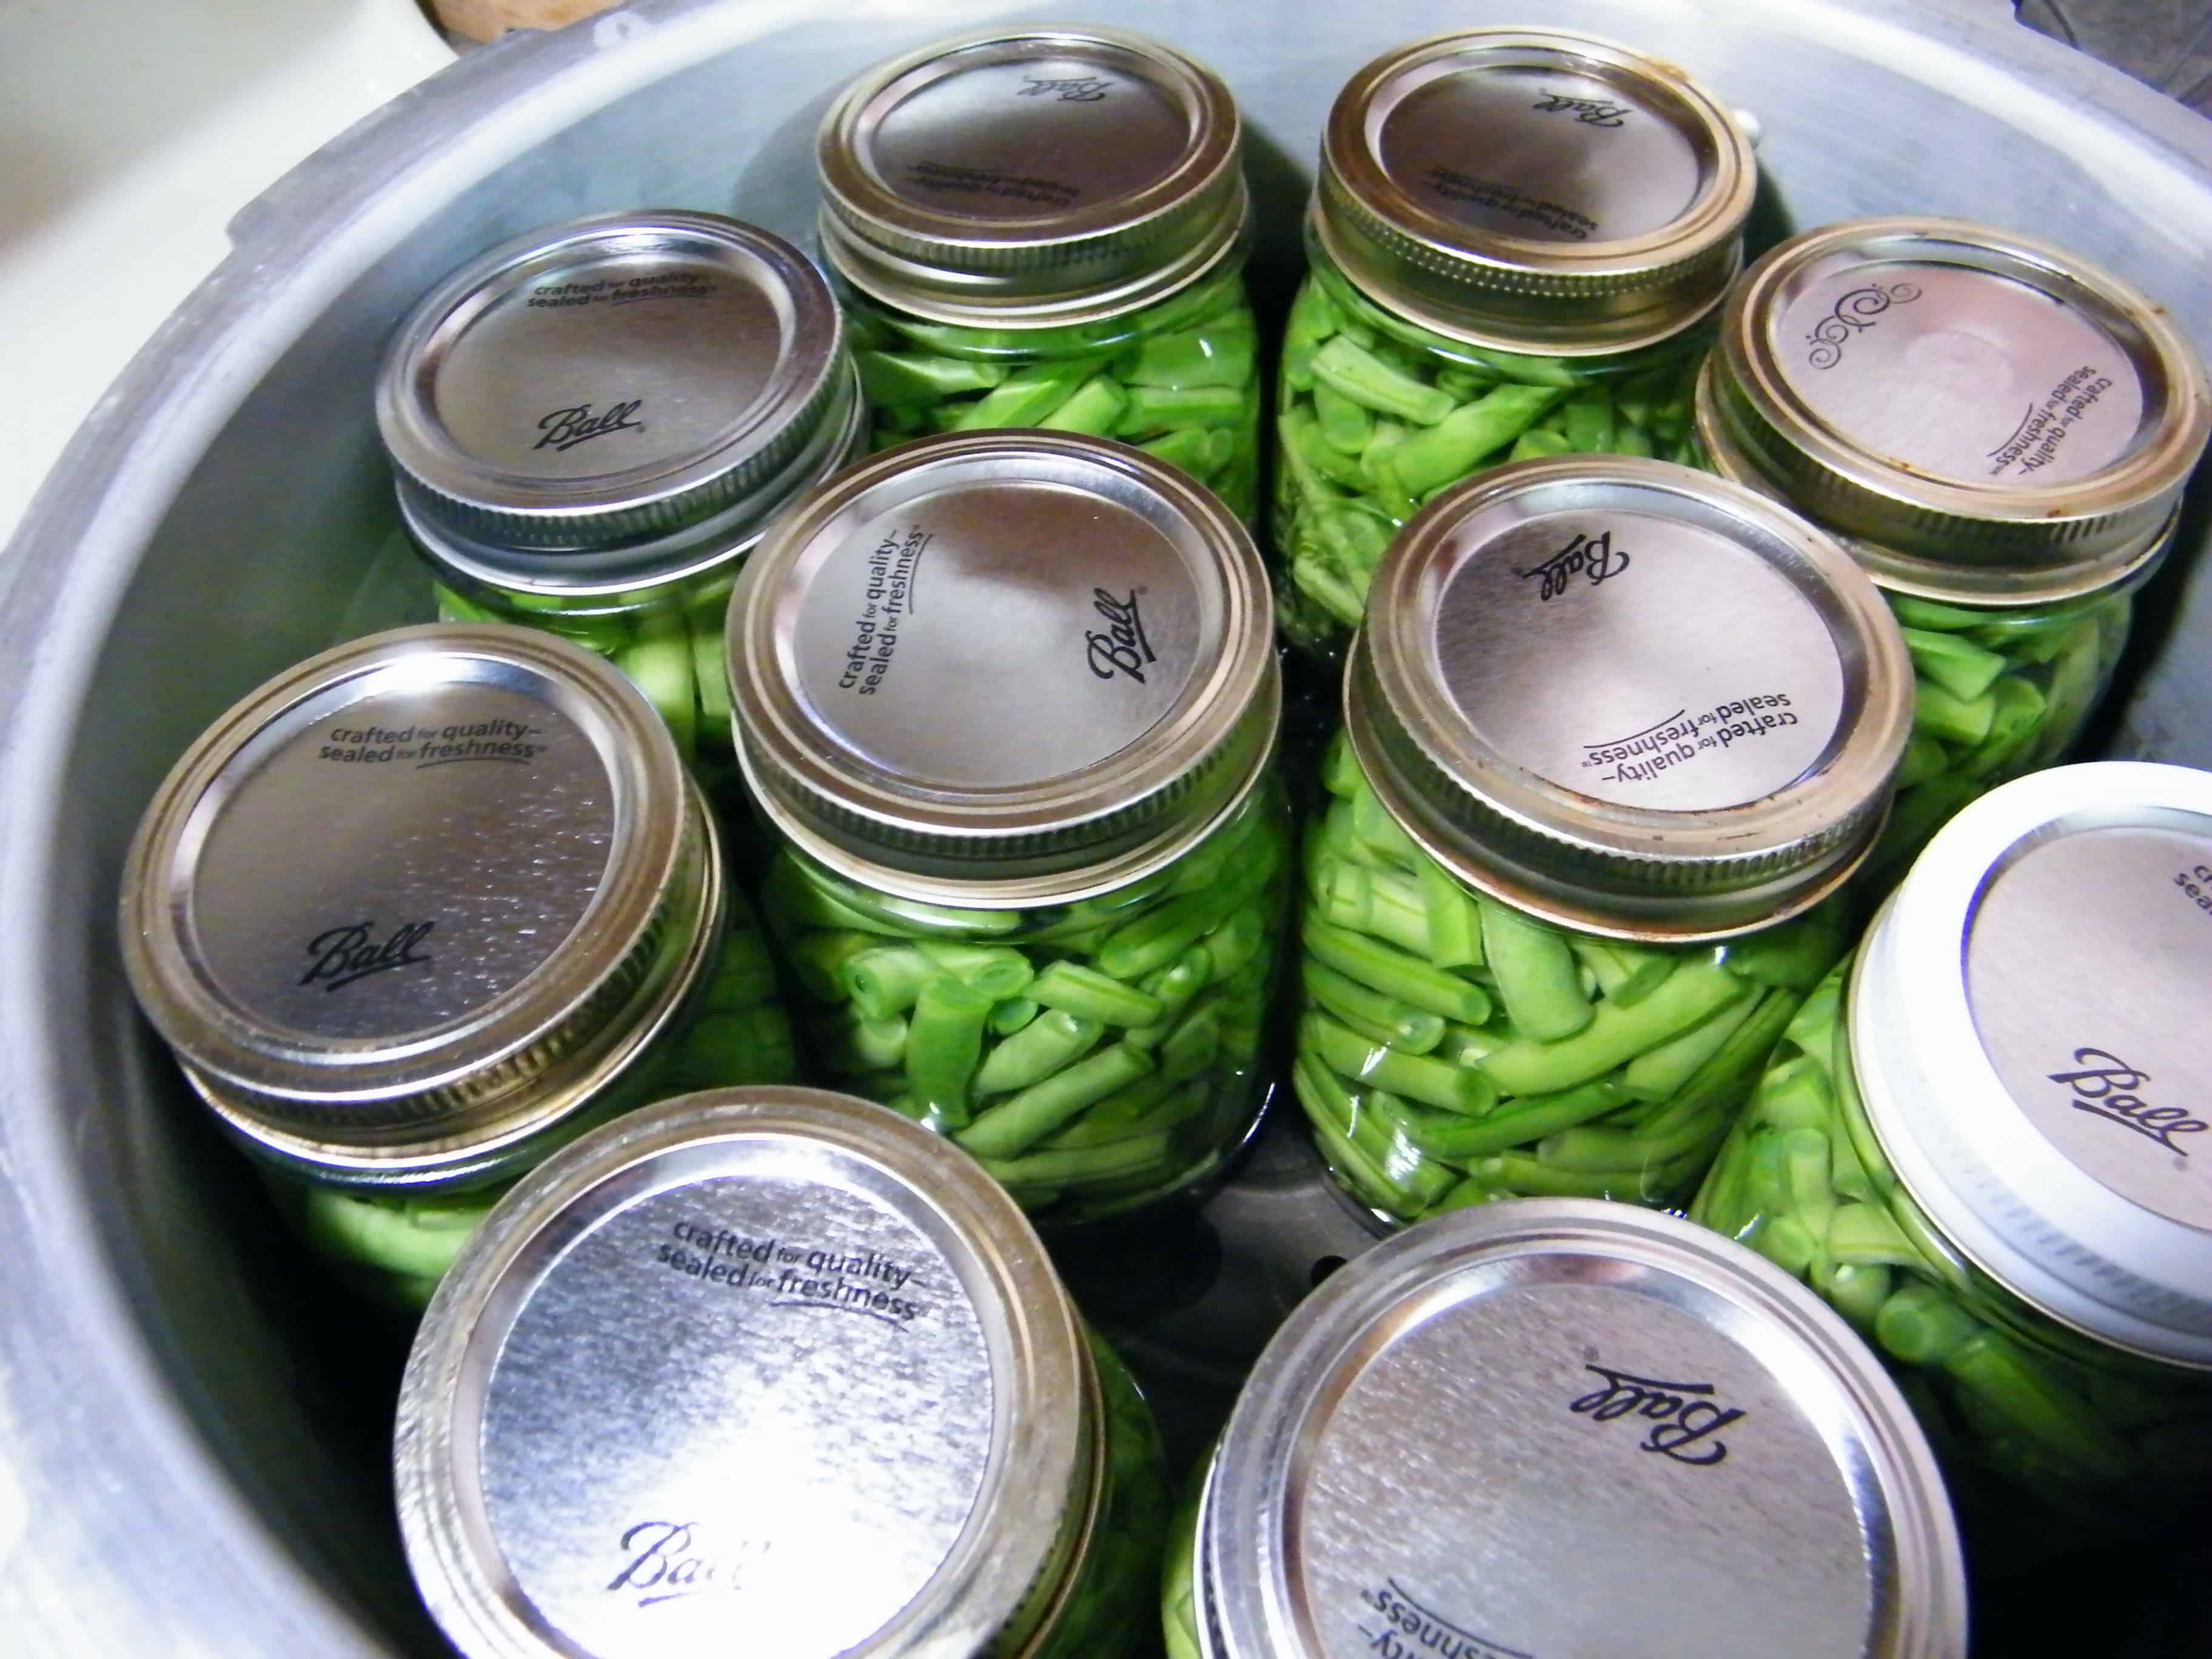
3. Pressure can jars
Place your jars in your pressure canner, position and attach your lid, and proceed per your canner’s instructions.
For most pressure canners, pints of green beans should require cooking for about 20 minutes.
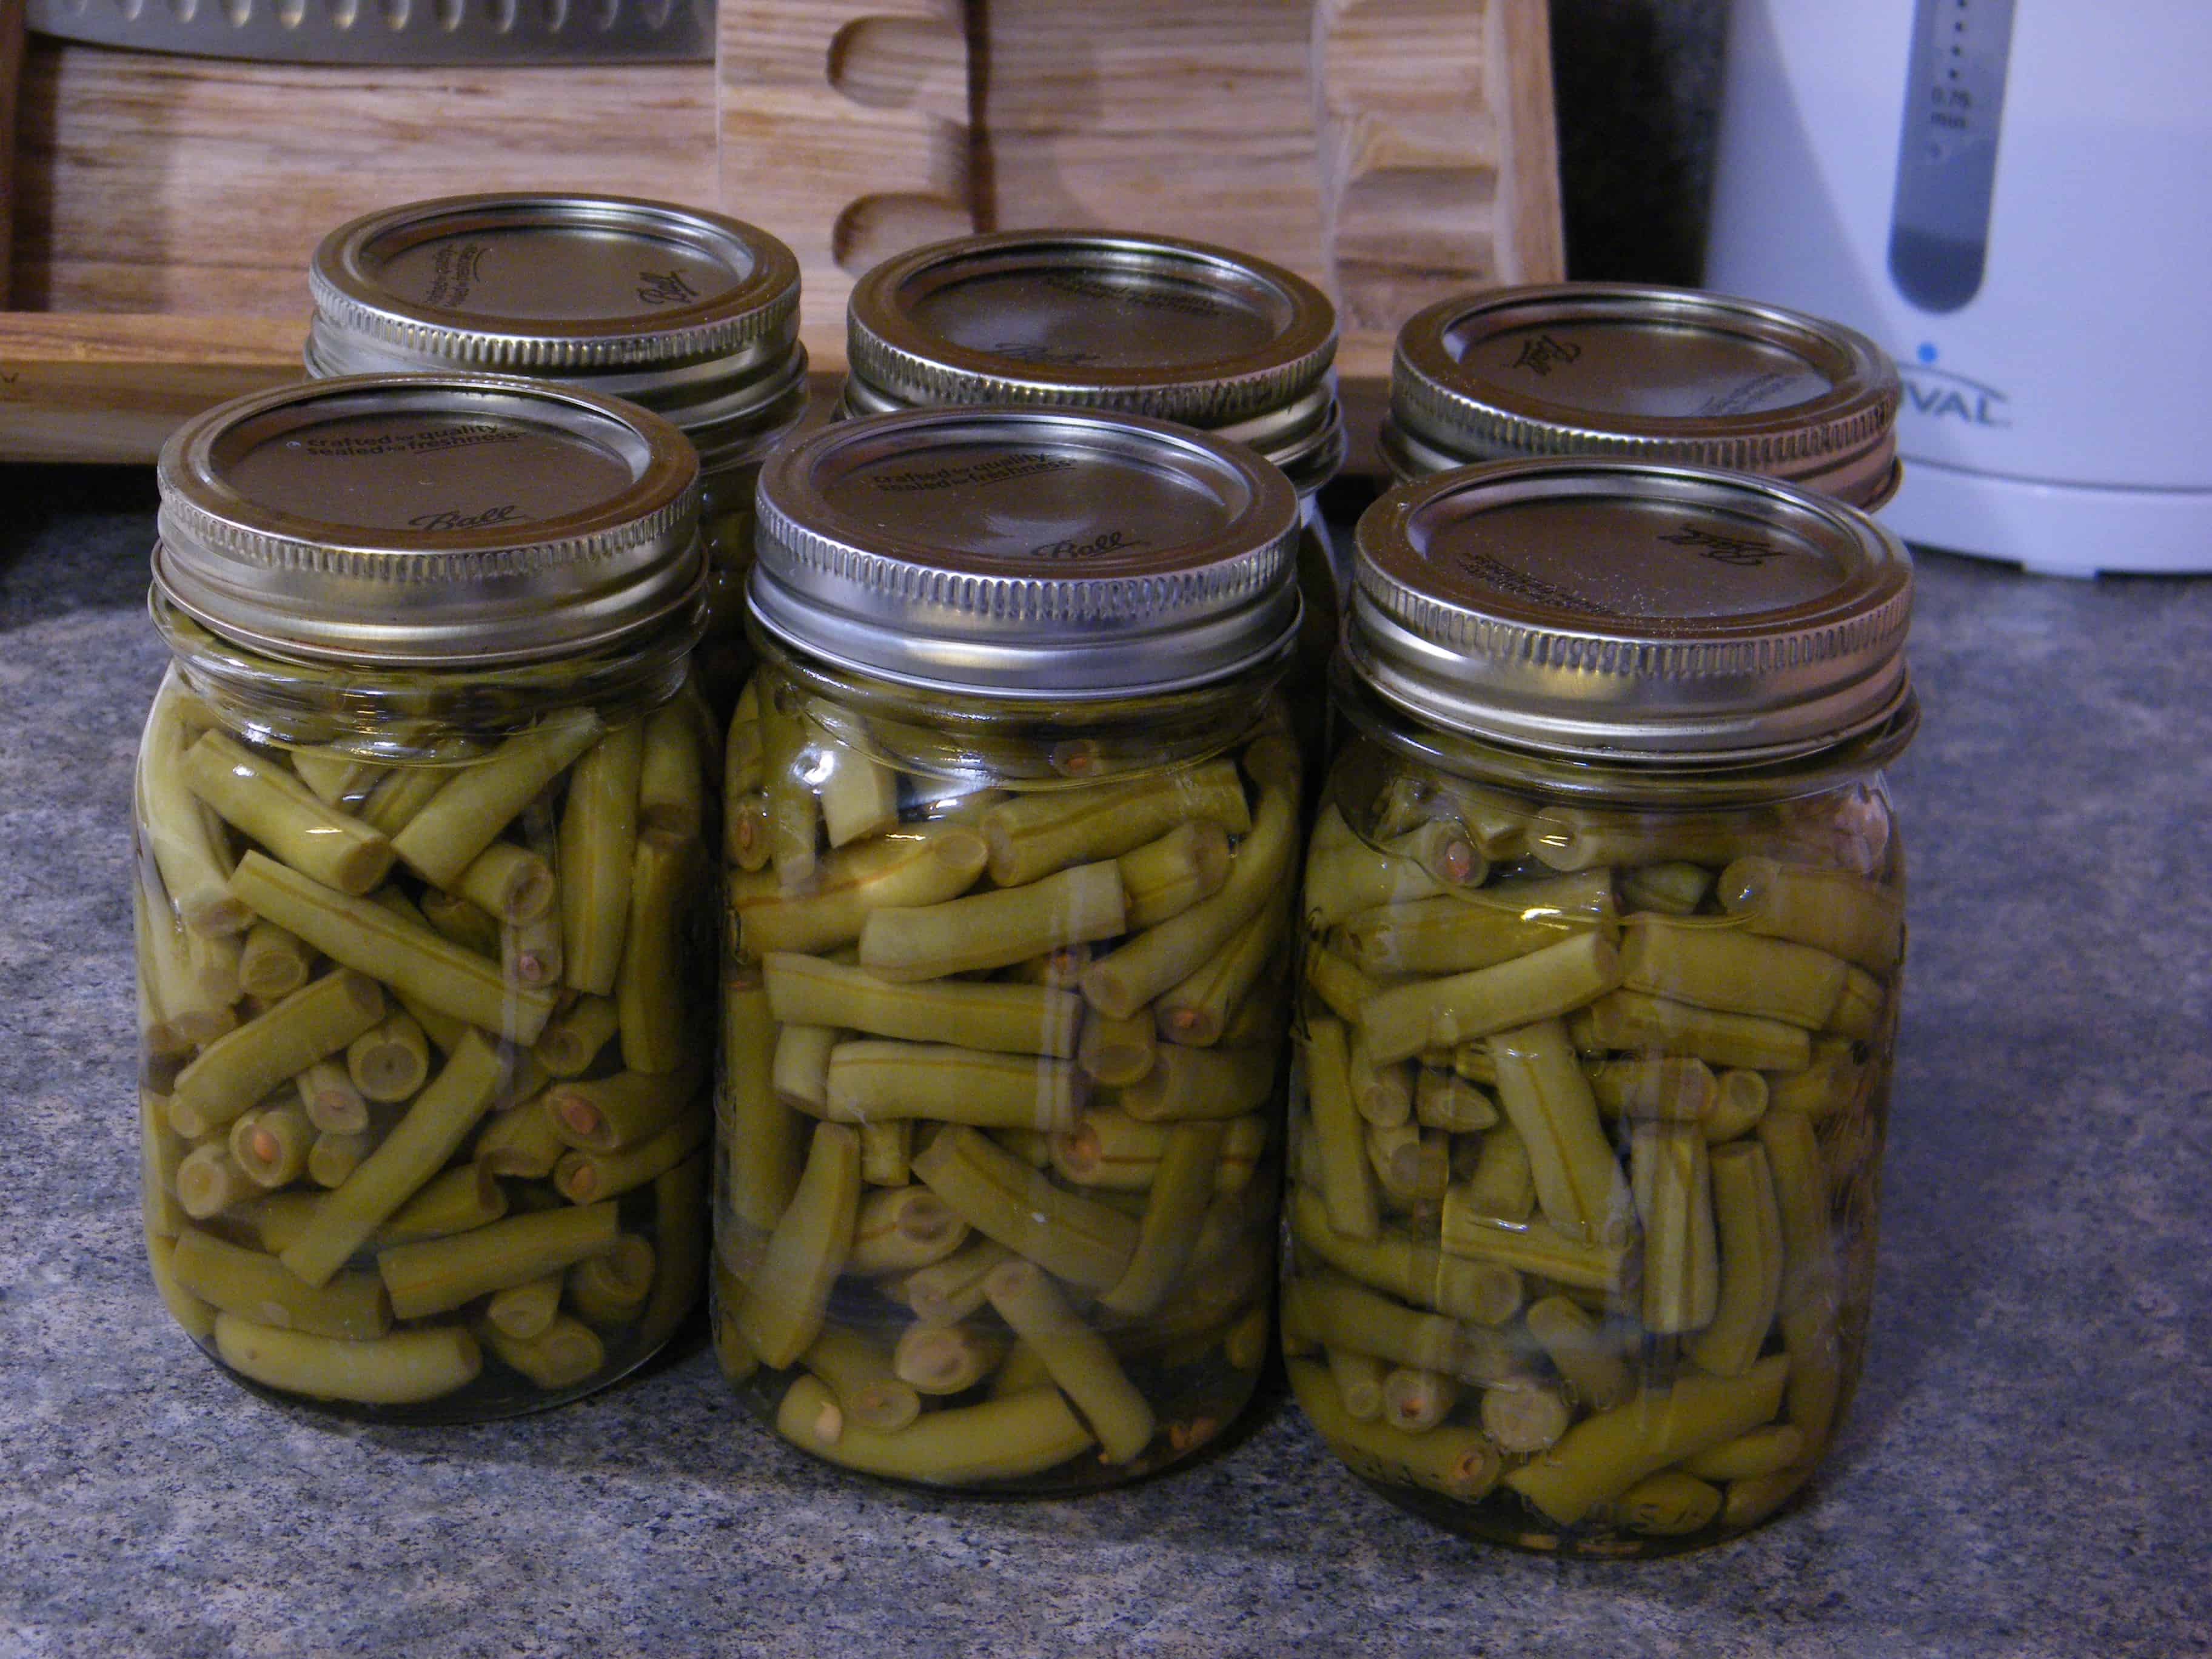
Once cooking is complete and your canner has cooled, remove the lid and jars. Let your jars cool and check your lids to make sure they have all been sealed.
Now you can enjoy wonderful vegetables this winter and know exactly what is or isn’t in them.
Easy right?
All in all, it is essential to keep in mind that canning green beans is a labor of love.
It is not something you do on a whim and certainly shouldn’t be done in a hurry.
However, if you are willing to invest the time and effort into this process, you’ll not only have fresh-tasting vegetables all year, but also you’ll have a life skill that can literally feed your family.
Have any questions or comments? Feel free to leave a comment below!

Becky is a wildlife enthusiast and pet and livestock care expert with a diploma in canine nutrition. With over a decade of experience in animal welfare, Becky lends her expertise to Simple Family Preparedness through insightful info about pets, livestock, bee keeping, and the practicalities of homesteading.
Can I use half pint jars for one person and how long to process in pressure cooker
You can absolutely use a half pint jar, I would check with your pressure canner for the time that would be needed since they do vary a bit. I would estimate about 10 minutes should be enough though.
I think this is the recipe mom used although she usually got water bathed but had trouble with the jars not sealing right enough. you really need to pressure cook to get the jars to seal tight enough to keep sealed for at least a year.
Wonderful info. Thank you. I’m new to country living and canning my own fruits and vegetables. Looking forward to more of your time saving steps wirh this process. TERRY
Are you putting water in the cooker to surround the canning jars? My first try at this. Thanks.
Can l use a pressure cooker, not a pressure canner
How do I can green beans using my power cooker.. I’m new at canning in a power cooker
They are the same thing
Love these simple instructions. Thank you so much.
Will these beans still be crunchy and crisp when done? Or soft and tender?
What’s the shelf life?
I cut my beans to go to the neck, which gives 1/2 inch head space, is that okay?
Can you recommend and easy recipe for canning salsa?
Great blog and site you have.
Have already ‘Liked’ your FB Page. 🙂
Thank you. 🙂
I just want to say thank you for your great simple instructions on how to can green beans. All of the recipes had way more steps and I knew there was an easy way out. I’ll be marketing your page and check in for your regular tips.
Thanks again, Drucilla