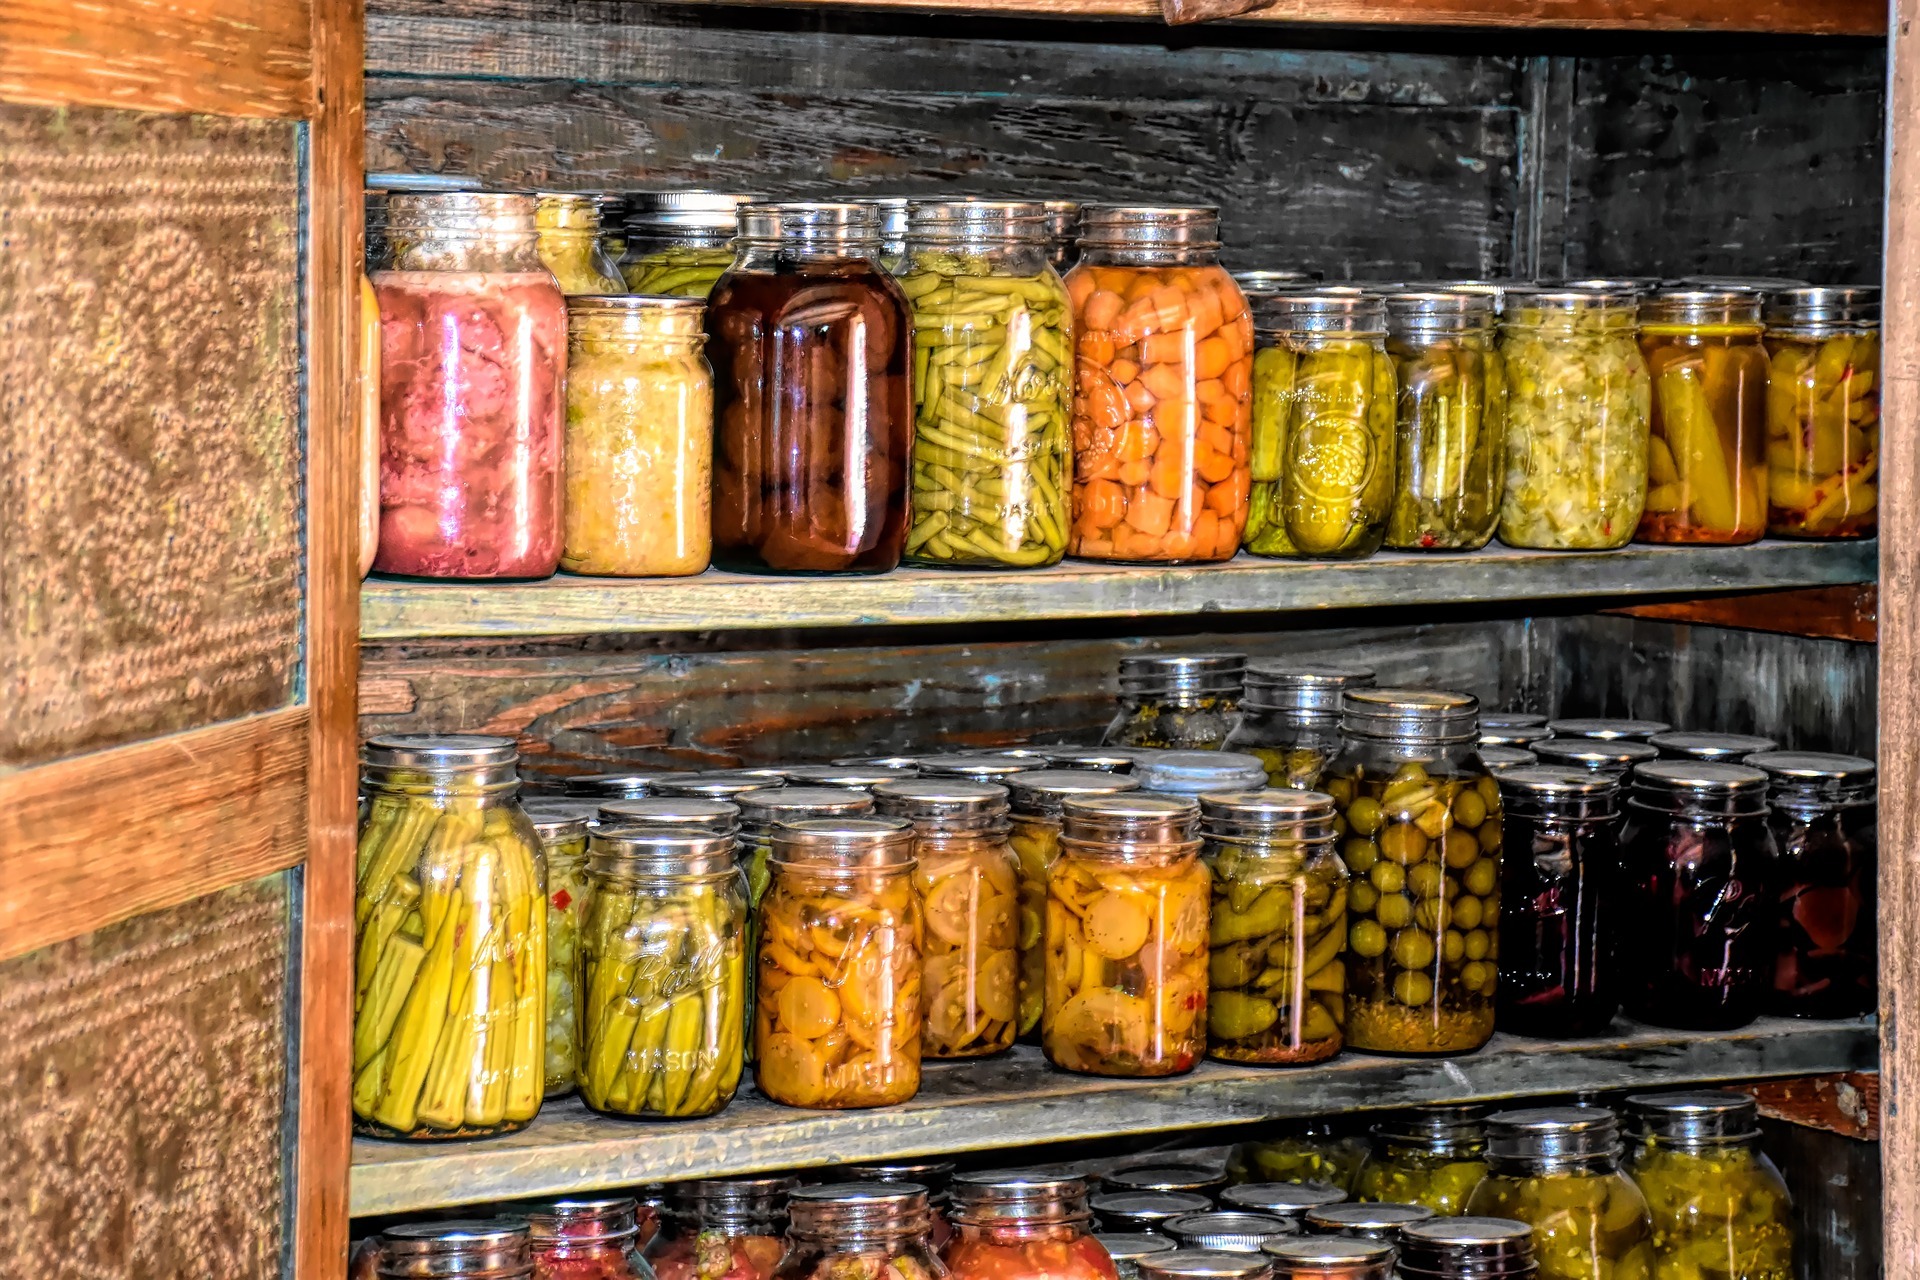
Home canning has long been used as a form of preserving certain foods for the upcoming seasons. However, some may be intimidated by the amount of canning equipment needed and the complexity of the whole process. To ease your mind and help you make decisions about the supplies you need to begin canning for yourself, here are a few tidbits of knowledge that are rather important to note.
What Is Home Canning?
Home Canning is a process of creating and preserving foods that would otherwise typically only last a few weeks. The process is relatively simple in its basic form. To complete it, you fill jars with food items such as berries, tomatoes, cucumbers in vinegar, fresh veggies, or even meats and dairy products. These filled jars then have lids added, are placed in boiling water for a certain amount of time, and are pulled out to cool and set.
Heating these jars and their lids forces air out of the food, and the jars then create a seal that can last for years. The process can be complicated by different food types which require specific recipes to follow and cooking methods that may vary. However, the result is the same: preserved foods that last and can provide you with your favorite flavors throughout the year, no matter what season it is.

What Canning Equipment Do You Need?
With canning equipment, some items are more important than others. This may depend on what is being canned, as some foods will require specific tools of the trade that others won’t. However, there are some things that will be used no matter what you are canning, such as:
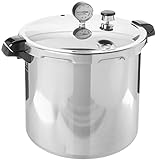
1. Pressure Canner/Water Bath Canner
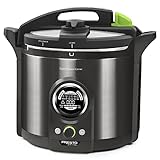
While these two items may look similar and may be used similarly, there are some significant differences. Both are large pots that can hold enough water to cover whatever size can you are using plus have a little extra room. For beginners, a Water Bath Canner may be the best option, as this essential piece of canning equipment is simple to use and teaches you the basics without getting too complicated. This is also an excellent option for those who can primarily can higher acidic foods such as jellies, jams, salsa, fruits, or pickles.
A pressure canner is used by those who may be more advanced in their canning skills or who are processing lower acidic foods such as meats, seafood, most vegetables, and broths. The difference here is the amount of acid in the foods. The lower the amount of acid, the more likely it is for harmful botulinum bacteria to form and grow to contaminate your foods.
Fruits, most tomatoes, and pickled items have enough acid to destroy these bacteria. However, for those foods that do not have enough acid, special processing such as a pressure canner is needed. A pressure canner allows the water, and the foods being processed, to be heated to a high enough temperature (240-250°F) that bacteria are safely destroyed and no longer pose a threat.

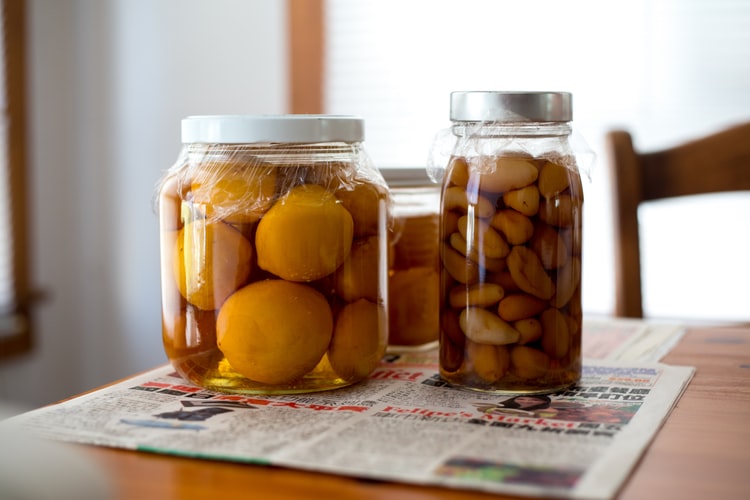
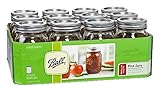
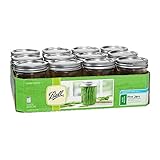
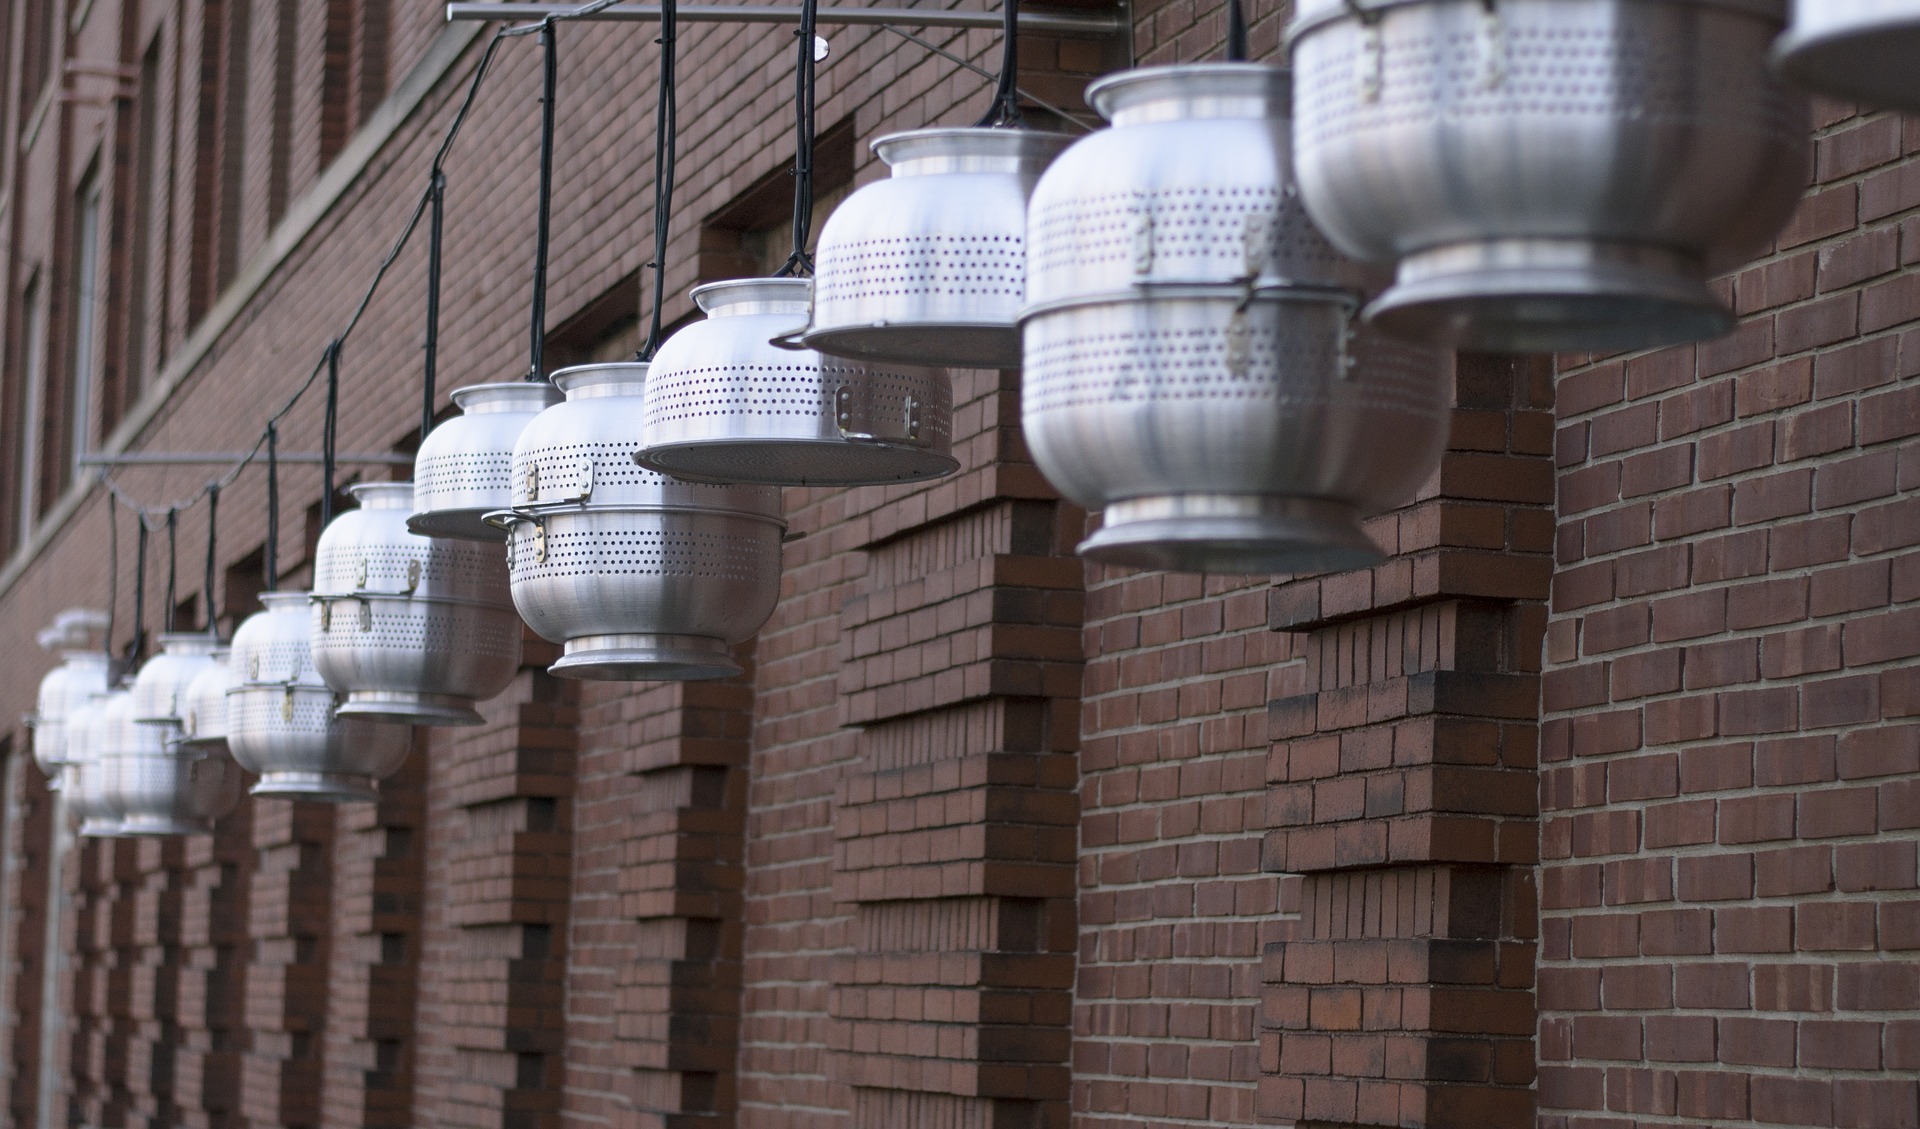
2. Canning Jars
No matter what you are canning, canning jars are essential to the process. These are what your foods are cooked and stored in. They come in a wide variety of sizes, from a ½ pint to ½ gallon typically. These are made of glass and have either a regular or a wide mouth. What you decide to use is strictly a personal preference or what works best for your process and the foods you are canning.
3. Canning Lids
The lids of these jars are made of two parts: bands and lids. Both pieces are typically metal and fit a specific size of jar mouth (wide or regular). The bands can be reused as many times as you would like as long as they are in good shape. The lids, on the other hand, should never be reused. These should be new each time to ensure that they seal correctly. In recent years, reusable lids have been invented. These are made of plastic with a separate rubber gasket ring and are dishwasher safe for easy re-use time and time again.

4. Canning Funnel
When it’s time to fill your jars with your food of choice, nothing makes it easier than using a funnel. These come in a wide variety of colors and are typically made of plastic with a small handle on one side; although they can be found in metal.
5. Ladle
Experience has taught those with advanced canning skills that the best way to add food to your jars is to use a ladle. This not only reduces the likelihood of being burned by hot foods but also creates less of a mess. However, not all scoops are created equal. Make sure to choose one that is durable, strong, and resistant to melting, such as one made of stainless steel.
6. Jar Lifter
After your jars are filled and the lids put on, it’s time to put them into your water bath or pressure canner full of boiling water. To ensure that this is done safely and without causing burns, you should use a jar lifter. This looks similar to a pair of metal tongs coated in rubber and is made for lifting hot jars into and out of your canner with ease.
The best ones have rubber grips on the handle end for comfortable and easy lifting, while the end that holds the jars should be specially designed to curve around the jars, with a rubber coating to hold them securely so you don’t drop your cans and splash boiling water around.
7. Magnetic Lid Lifter
This piece of canning equipment is essential for all those using metal canning lids. Before the canning lids can be added to the tops of the jars and processed, they must be thoroughly cleaned and decontaminated. The best way to do this is to boil them for a few moments. However, this makes them extremely hot to the touch. This lid lifter is a long piece of plastic with a magnet affixed to one end, making it simple and safe to retrieve your lids.
8. Kitchen Towels
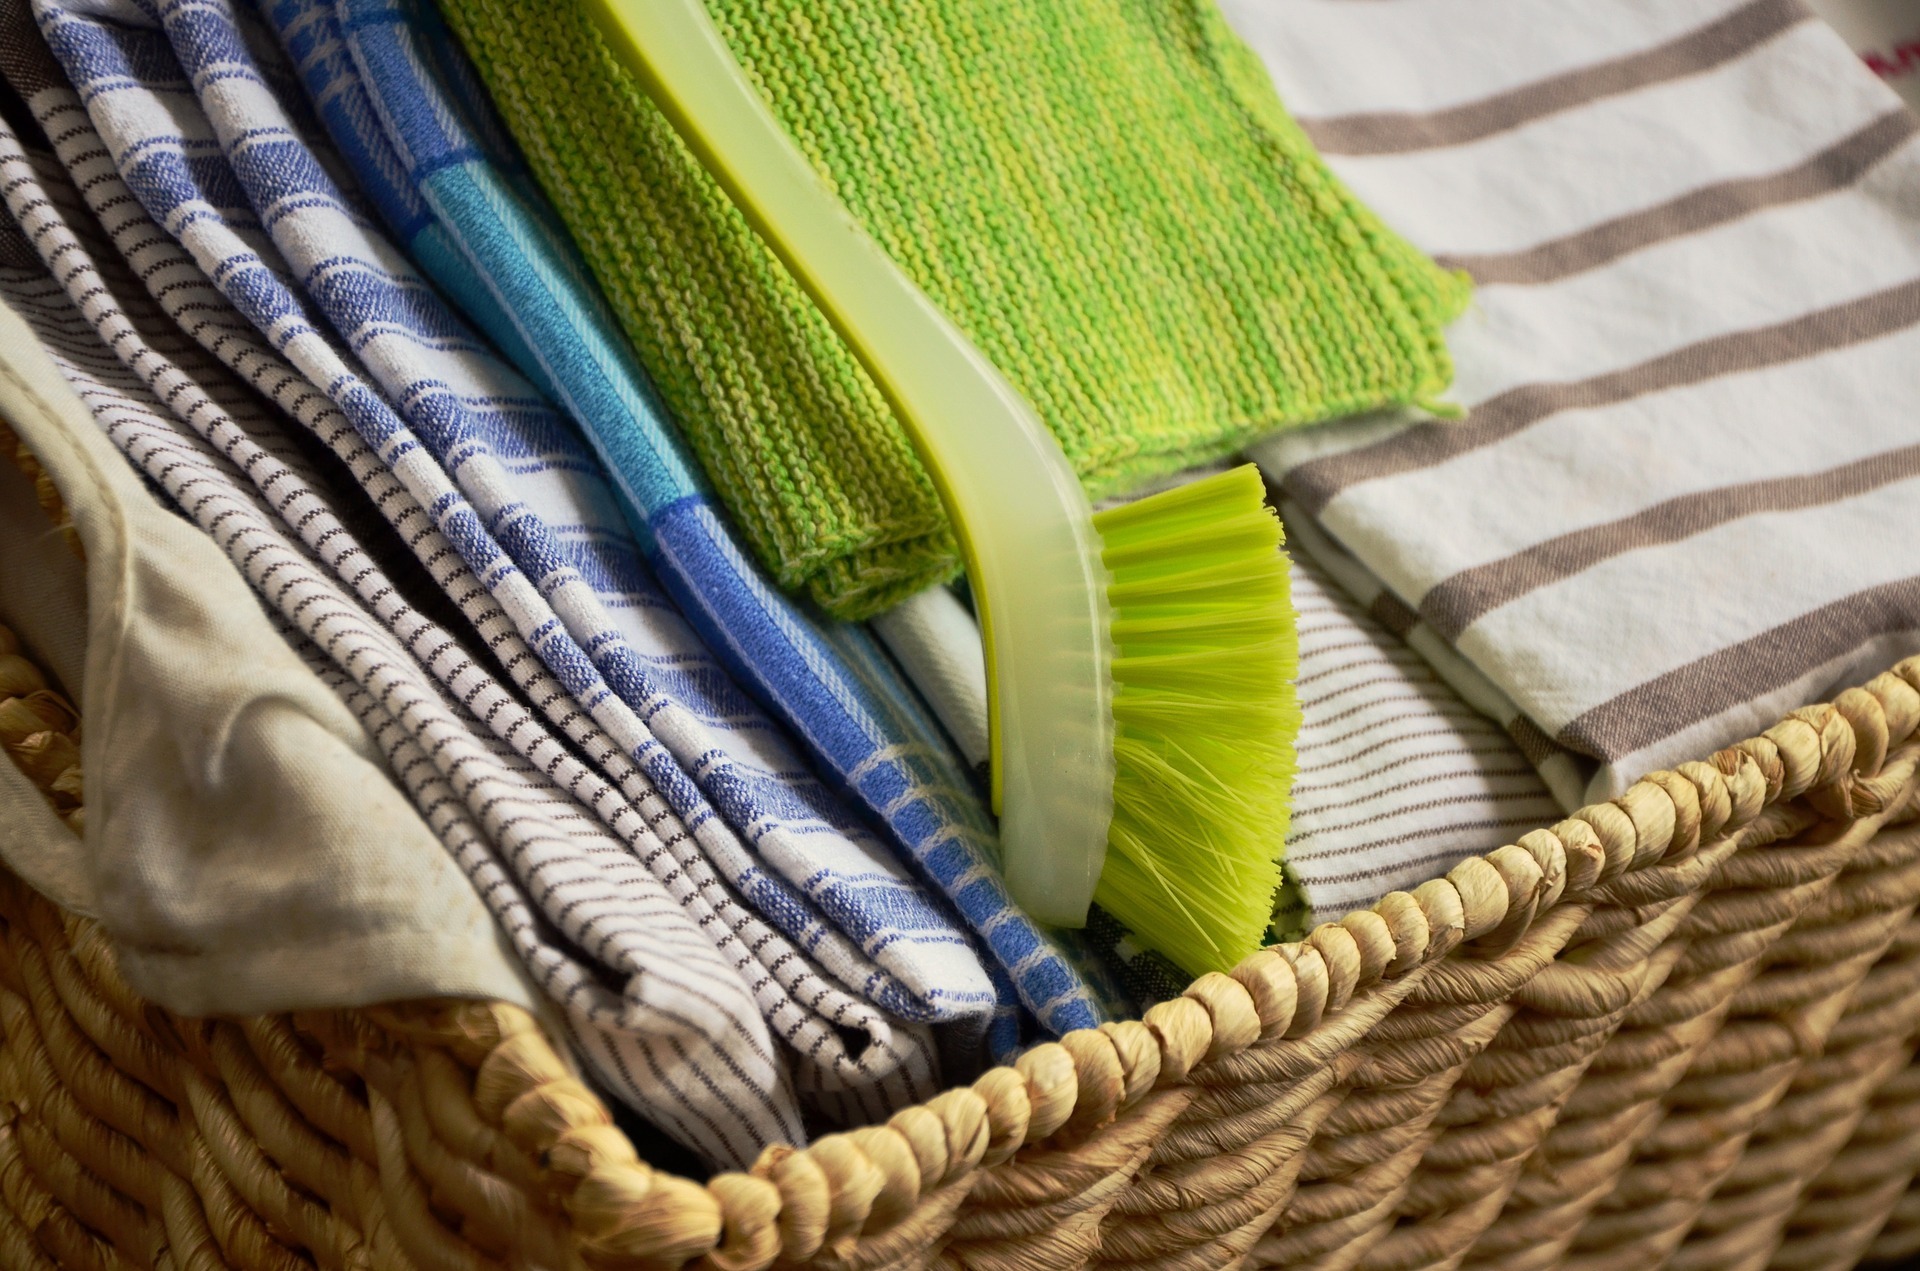
While these come in handy for cleaning up any messes, they are also essential to the canning process. Lids and jar rims must be dry and clean before being added to the canner. Clean kitchen towels are used to wipe these clean and also to set your hot and processed jars on after they have been taken from the canner.
9. Canning Equipment That Is Nice To Have
The following items are ones that may not be necessary for canning, depending on the food. However, they can come in handy and make the entire job much more natural and safe.
10. Canning Rack
Most canners, pressure or water bath, come with a canning rack. This allows you to more safely and efficiently add or take out your jars.
11. Hot Pads
As mentioned above, several canning equipment pieces reduce the risk of being burned. However, you can never be too safe. So make sure to have a hot pad or a pair of suitable oven mitts/gloves on hand.
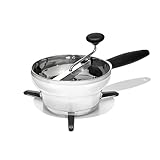
12. Food Mill/Strainer
Some foods will need to be mashed, strained, or otherwise processed before they are to be canned. Berries, tomatoes, and apples are just a few that come to mind that commonly need to be ground or pureed. Having a strainer or mill allows you to complete the process easily and quickly.


13. Bubble Remover/Measuring Tool
Many canning kits come with this tool. It is usually made of plastic and is to be dipped into your hot foods once they are in the jars to remove any air bubbles that may be present. Most of these also have stepped on one end with measurements. These “steps” can be placed on the rim of the jar to tell you how much space is left between the food and the top, as different recipes will require specific amounts of space.
14. Lid Tightener
Having a tight band is essential, but getting it that way can be rather dangerous. This tool makes it easier and safer to grab onto a jar full of hot foods and tighten the band before it goes into the canner.
15. Home Canning Book
Just like having a recipe book makes cooking more accessible, a canning book can make all the difference when canning, especially for beginners. These books typically include tips from the pros, recipes, and even contact information for supplies and support.
16. Kitchen Timer
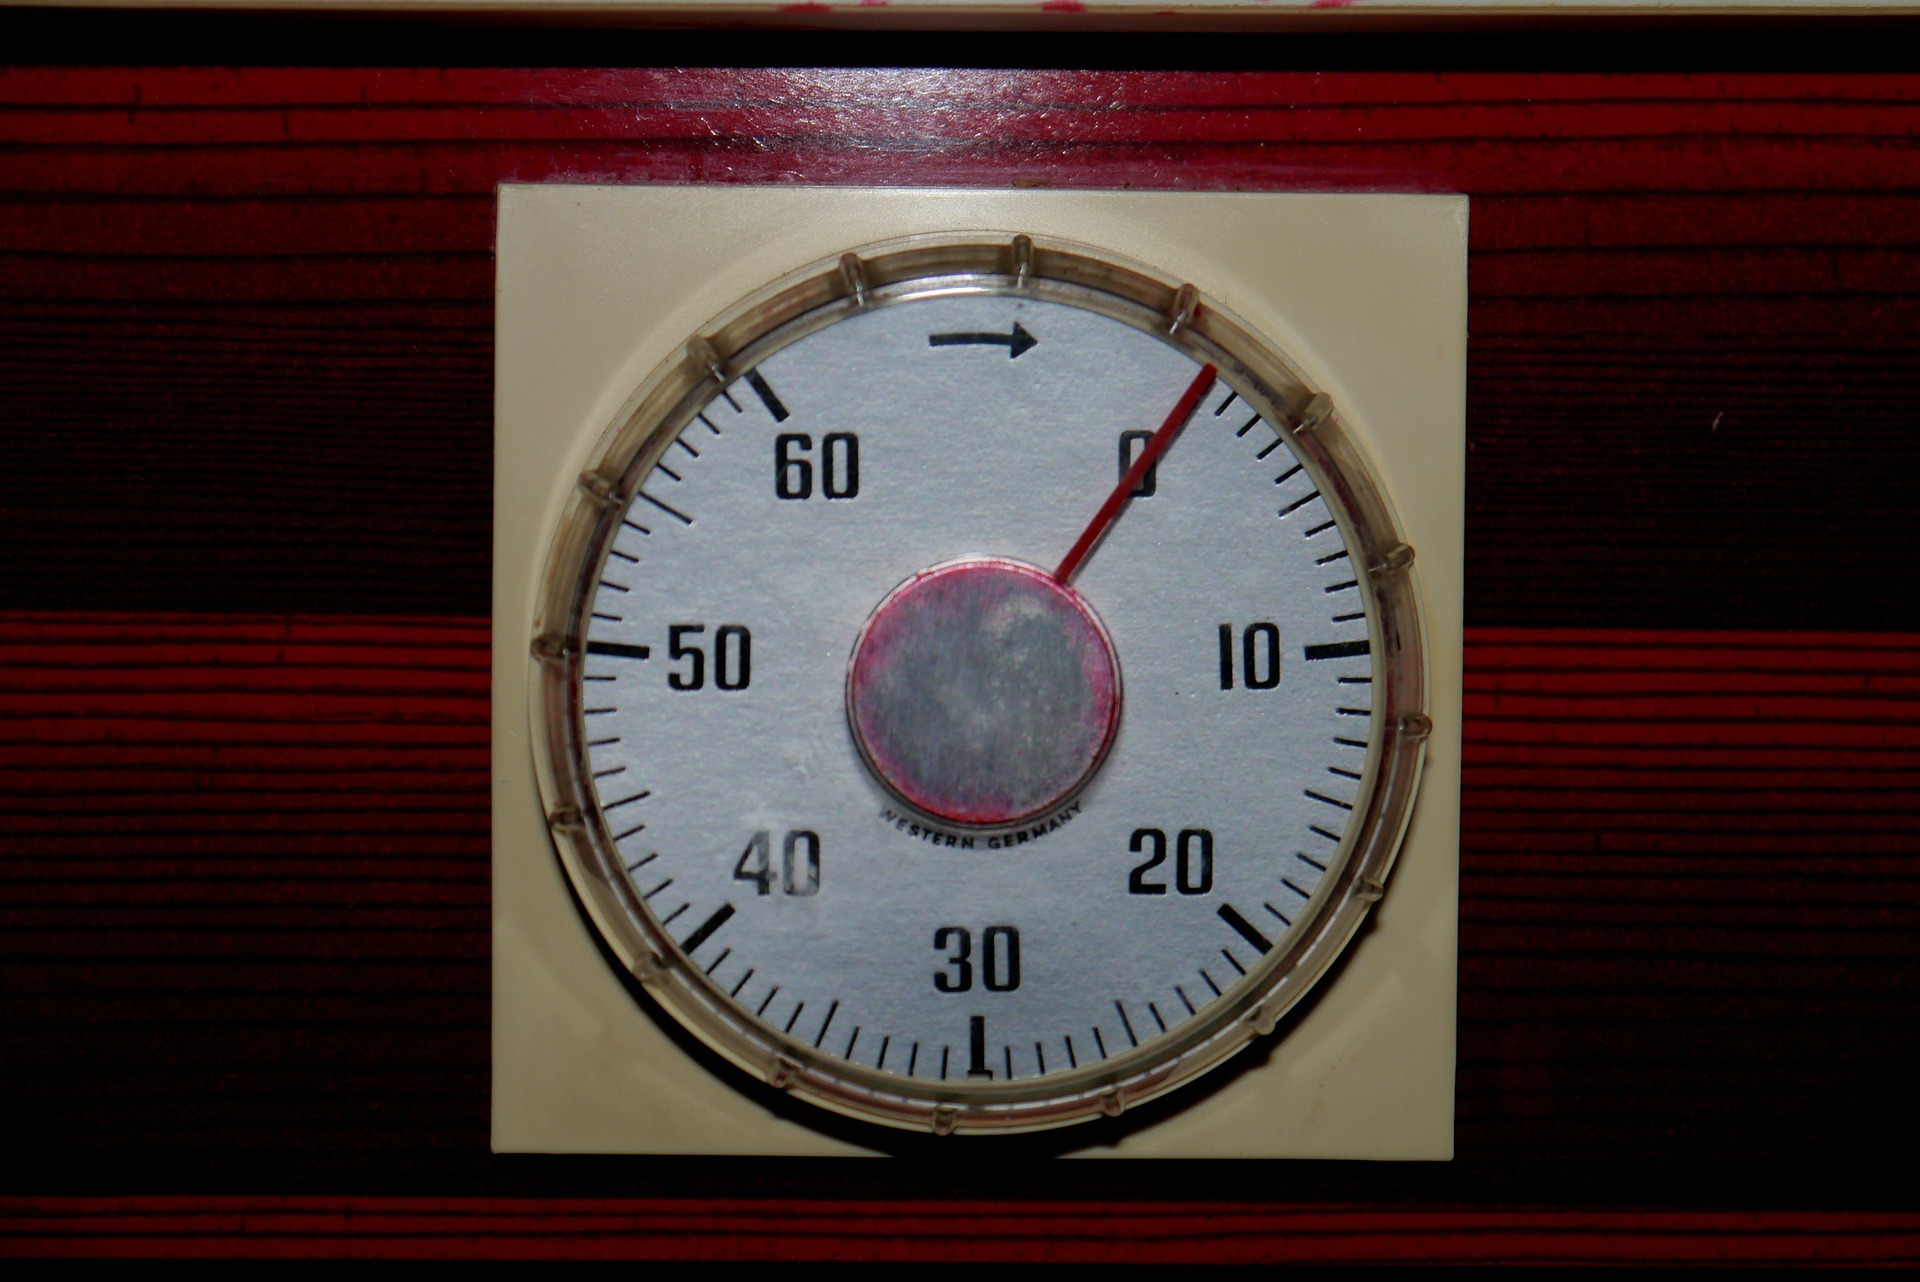
Each recipe will need to be processed for a certain amount of time. Having a kitchen timer can come in handy to let you know when the jars should be taken out of the canner and left to cool and sit.
17. Steam Juicer
For jellies and jams or juices, a steam juicer can ensure that you make homemade preserves and juices with ease. They can also be used to steam veggies or in combination with other pieces to create fabulous meals.
What’s Your Canning Equipment?
When you begin canning, make sure you have the tools and canning equipment necessary to complete the job at hand. Check out the varying types of tools available to you and get ones that work well with your canning preferences and needs. Make sure to also look into those items that may not be such a necessity. These might make all the difference for you and your canning season.
Katy Willis is a writer, lifelong homesteader, and master herbalist, master gardener, and canine nutritionist. Katy is a preparedness expert and modern homesteader practicing everyday preparedness, sustainability, and a holistic lifestyle.
She knows how important it is to be prepared for whatever life throws at you, because you just never know what's coming. And preparedness helps you give your family the best chance to thrive in any situation.
Katy is passionate about living naturally, growing food, keeping livestock, foraging, and making and using herbal remedies. Katy is an experienced herbalist and a member of the CMA (Complementary Medical Association).
Her preparedness skills go beyond just being "ready", she's ready to survive the initial disaster, and thrive afterward, too. She grows 100% organic food on roughly 15 acres and raises goats, chickens, and ducks. She also lovingly tends her orchard, where she grows many different fruit trees. And, because she likes to know exactly what she's feeding her family, she's a seasoned from-scratch cook and gluten-free baker.
Katy teaches foraging and environmental education classes, too, including self-sufficient living, modern homesteading, seed saving, and organic vegetable gardening.
Katy helps others learn forgotten skills, including basic survival skills and self-reliance.
She's been published on sites such as MSN, Angi, Home Advisor, Family Handyman, Wealth of Geeks, Readers Digest, and more.
Last update on 2024-07-27 at 00:01 / Affiliate links / Images from Amazon Product Advertising API