Bananas are one of the most popular fruits in the United States, and with good reason: they’re delicious, packed with nutrients, and easy to take as an on-the-go snack. Dried bananas offer benefits as a convenient treat, but the health-conscious may be wary of commercially sold banana chips, which may have additional sugar and fat. Fortunately, dehydrating bananas at home is not only healthy but surprisingly easy!
Benefits of Dehydrating Bananas
Before we look at the different methods for dehydrating bananas, let’s look at some of the benefits.
Nutrition
You probably already know that bananas have nutrients, such as potassium and vitamins, but by dehydrating them, you’re making many of the nutrients more concentrated. An exception is vitamin C, which is both heat-sensitive and water-soluble, but drying bananas will increase potassium, carbohydrates, and fiber fourfold when compared ounce by ounce with fresh bananas.
Shelf Life
Fresh bananas don’t keep; it’s a sad fact of life. Oftentimes, they’re already turning brown by the time they’re brought home from the store. Dehydration is a method of preserving this otherwise perishable fruit. Dried bananas will last for weeks or even months if stored properly.
![]()
Portability
Granted, fresh bananas are also fairly portable due to their self-contained skin, but dried bananas take up less room, and you don’t need to worry about them crushing them in your purse, backpack, or lunchbox.

Preferences
The best thing about dehydrating bananas yourself is that you can make them the way that you like them. However, you will have to decide on your preferences ahead of time because your preparation steps will vary based on these.
Shape
There are three different shapes that your dehydrated bananas can take: chips, wedges, or fruit leather. In addition, fruit leather can be made from mashed banana or banana puree.
Texture
Do you want your bananas to be crunchy or chewy? If you decide to make fruit leather, chewy is basically your only option, but chips can be either. Making your bananas crunchy will require a longer cooking time, however.
Seasoning
Bananas can be dehydrated without any additional seasoning and still be delicious, but there are a myriad of options available if you’d like to add some flavor. Add a little salt for a savory and healthy alternative to potato chips. Other popular seasonings include cinnamon or nutmeg.
Preparation For Dehydrating Bananas
It may seem obvious, but the first step in preparing any of these types of dried bananas is removing the peel. In most cases, your next step will be cutting them, but how you cut them varies depending on what shape you want. If your bananas are too soft to cut effectively, you can refrigerate them for about 10 minutes before cutting them.
-
Chips
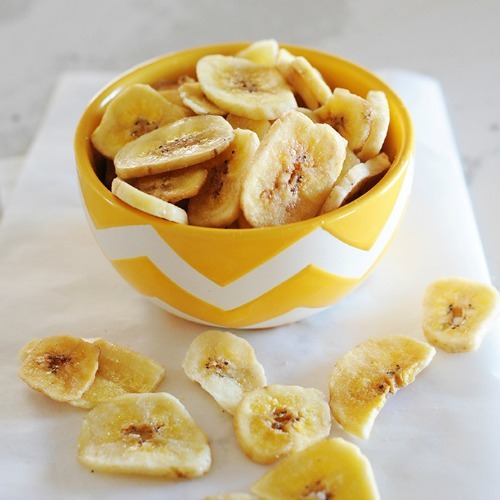
For banana chips, slice the bananas into 1/4-inch to 1/8-inch rounds. The thinner your sliced rounds, the crunchier your banana chips will turn out.
-
Wedges
It’s not strictly necessary to cut bananas into wedges. Bananas have natural cleavage and will split of their own accord if you work your finger gently into one end. However, if you’d prefer to cut your banana wedges, you certainly may do so. Cut them lengthwise, then lengthwise again, and then slice the pieces into the size you want.
-
Fruit Leather
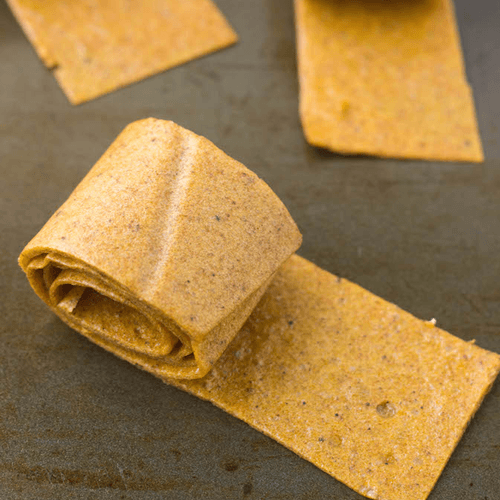
You can make your own banana fruit leather without all the sugar and preservatives that go into the store-bought kind. There are two different ways to do it.
- Mash: To use this method, you can start by cutting the bananas in half lengthwise, or you can leave them whole. Place the whole bananas or slices onto a piece of parchment paper about 3 inches apart. Place another sheet of parchment paper on top of them. Then, using a rolling pin or a heavy cutting board, smash the bananas as evenly as you can. Try to get your bananas as flat as possible; ideally, they should be about 1/8 of an inch thick.
- Puree: Start by slicing the bananas however you want; they just need to be small enough to fit into a food processor or blender, where they will be pureed. Fruit leather from puree can be prepared in either the oven or dehydrator, as detailed below.
-
Other Options
If you don’t want your bananas to turn brown, you can add a fruit juice to prevent this. Any type of acidic juice will work: lemon, lime, orange, or pineapple juice are all options. The juice will add some flavor to your bananas as well, so pick the flavor you like best, or if you don’t want the juice to flavor your bananas, you can dilute the juice with water in a 1:4 ratio.
Then you can dip the banana pieces into the juice, brush the juice onto the pieces, or spray the juice directly onto the bananas with a pump-top from an unused spray bottle. If you don’t mind your bananas turning brown, this step is optional.
At this point in the preparation process, you can add whatever seasonings you would like. This step is also optional.
No products found.
Methods In Dehydrating Bananas
If you already own a dehydrator, you can of course use it for dehydrating bananas, but it is only one of several options available to you. If you don’t have a dehydrator, your kitchen oven or microwave will work fine too.
-
Dehydrator
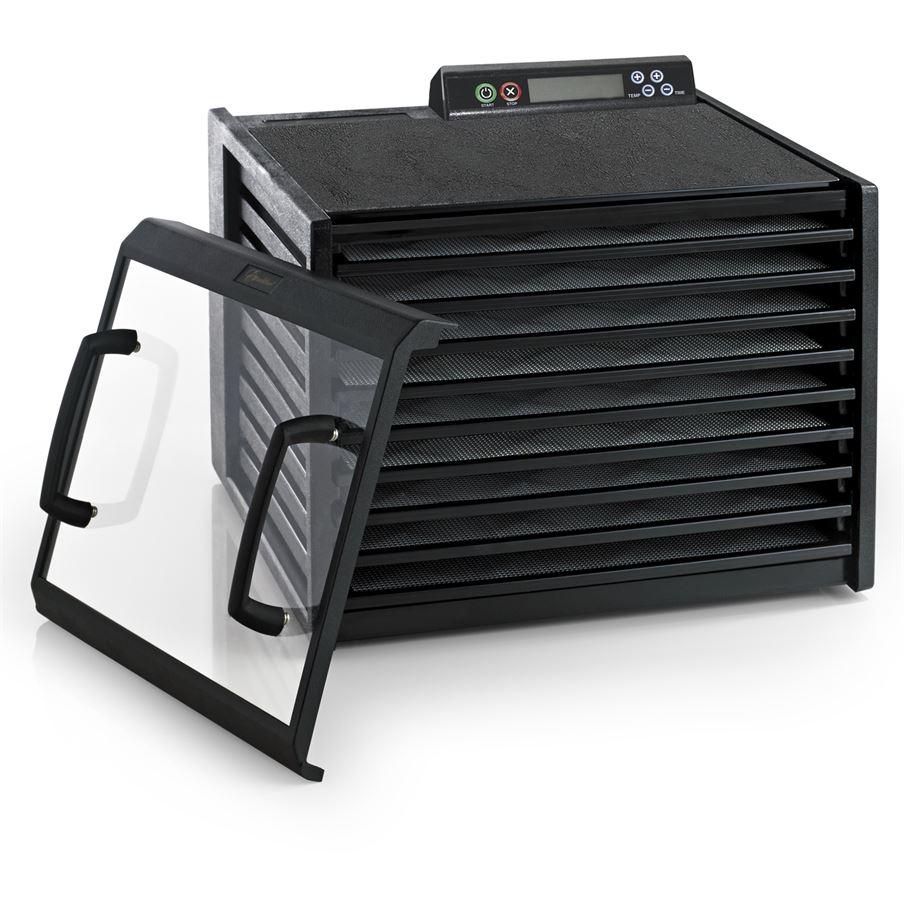
- Chips and Wedges: Spray the dehydrator rack and/or the sliced bananas with cooking oil to prevent sticking (optional). Set the slices on the dehydrator’s rack. They can touch slightly, but don’t let them overlap. Follow the dehydrator’s instructions for bananas. If it doesn’t give instructions for bananas, set the temperature to 135 degrees Fahrenheit. Check on the bananas and rotate the rack every 2-4 hours. If making crunchy chips, total time will be approximately 24 hours, while the more chewy variety takes 6-12 hours. Once dried, the bananas can be eaten when they’ve cooled to room temperature, and they can be stored in an airtight container for months.
- Mashed Fruit Leather: Peel the top sheet of parchment paper from your mashed bananas. Pick up the bottom sheet of parchment paper, with the mashed bananas still on it, and transfer to the dehydrator. Set the dehydrator temperature at 135 degrees Fahrenheit and dry the bananas for 7 hours. After 4 hours, and then 6 hours, check their progress. You can flip the bananas over for more even drying if they are still moist on the bottom. When the bananas are dried, remove them, still on the parchment paper, from the dehydrator. Once cool, cut them into strips, roll them up, and store them in an airtight container.
- Pureed Fruit Leather: Line the dehydrator racks with parchment paper, then spread the puree on top. Set the dehydrator for 135 degrees Fahrenheit, or follow the dehydrator’s instructions for bananas. Total drying time will be 6-12 hours. Check periodically to see if the puree will peel easily from the parchment paper. When this happens, remove the parchment paper and transfer the mixture directly to the rack.
-
Oven
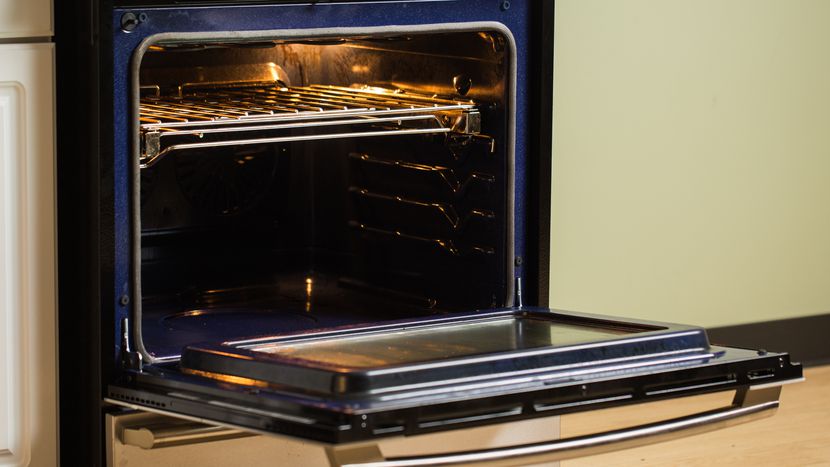
- Chips and Wedges: Place your sliced bananas on a baking sheet or cooking rack, being careful not to overlap them. If you use a baking sheet, spray it first with cooking spray or line it with parchment paper. If you use a cooking rack, place a baking sheet underneath it to catch the drips. Set your oven to the lowest temperature setting. Wedges will cook in 6-12 hours, while chips will take 1-3 hours. Turn the slices over halfway through so that they dry evenly. When finished cooking, cool to room temperature and store in an airtight container.
- Pureed Fruit Leather: Spread the puree evenly on a greased baking sheet. Bake the puree in the oven for 2 to 2-1/2 hours at 175 degrees Fahrenheit. The outer edges may cook more quickly than the middle; if this happens, cut off the edges and allow the middle to continue cooking.
-
Microwave
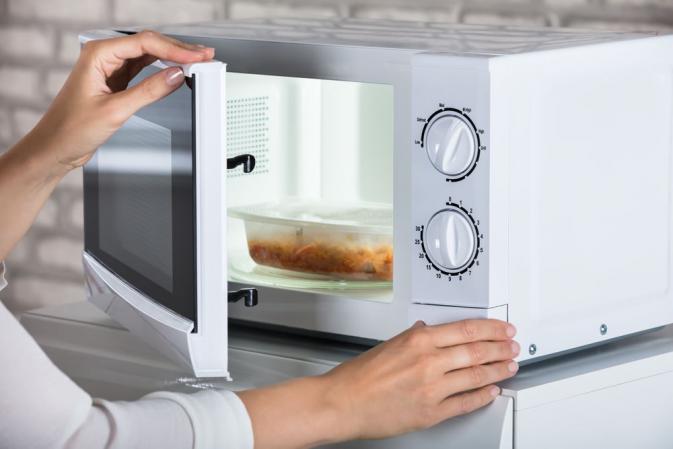
This is a quicker method of dehydrating bananas than the others, but the downside is that they don’t last as long as the other methods and should be consumed within 24 hours. When you slice your bananas, aim for 1/4-inch rounds. Thinner slices will be more likely to burn, while thicker slices won’t cook as easily. Grease a microwave-safe plate with cooking oil and put the slices on the plate. The slices should not touch each other. Microwave on high for 1 minute, turn the slices over, and season if desired. Continue microwaving for 30 seconds at a time until satisfied with the texture. Depending on your microwave and your preferences, this could take several minutes.
Conclusion
Bananas are beloved not only for their health benefits but also for their versatility. They can be sliced into salads, baked into bread, or eaten out of hand. Dried bananas can replace fresh bananas in just about any recipe. In addition, there are some delicious recipes out there that call specifically for dried bananas. Dehydrating bananas makes them even more versatile.
Katy Willis is a writer, lifelong homesteader, and master herbalist, master gardener, and canine nutritionist. Katy is a preparedness expert and modern homesteader practicing everyday preparedness, sustainability, and a holistic lifestyle.
She knows how important it is to be prepared for whatever life throws at you, because you just never know what's coming. And preparedness helps you give your family the best chance to thrive in any situation.
Katy is passionate about living naturally, growing food, keeping livestock, foraging, and making and using herbal remedies. Katy is an experienced herbalist and a member of the CMA (Complementary Medical Association).
Her preparedness skills go beyond just being "ready", she's ready to survive the initial disaster, and thrive afterward, too. She grows 100% organic food on roughly 15 acres and raises goats, chickens, and ducks. She also lovingly tends her orchard, where she grows many different fruit trees. And, because she likes to know exactly what she's feeding her family, she's a seasoned from-scratch cook and gluten-free baker.
Katy teaches foraging and environmental education classes, too, including self-sufficient living, modern homesteading, seed saving, and organic vegetable gardening.
Katy helps others learn forgotten skills, including basic survival skills and self-reliance.
She's been published on sites such as MSN, Angi, Home Advisor, Family Handyman, Wealth of Geeks, Readers Digest, and more.
Last update on 2024-07-26 at 22:36 / Affiliate links / Images from Amazon Product Advertising API