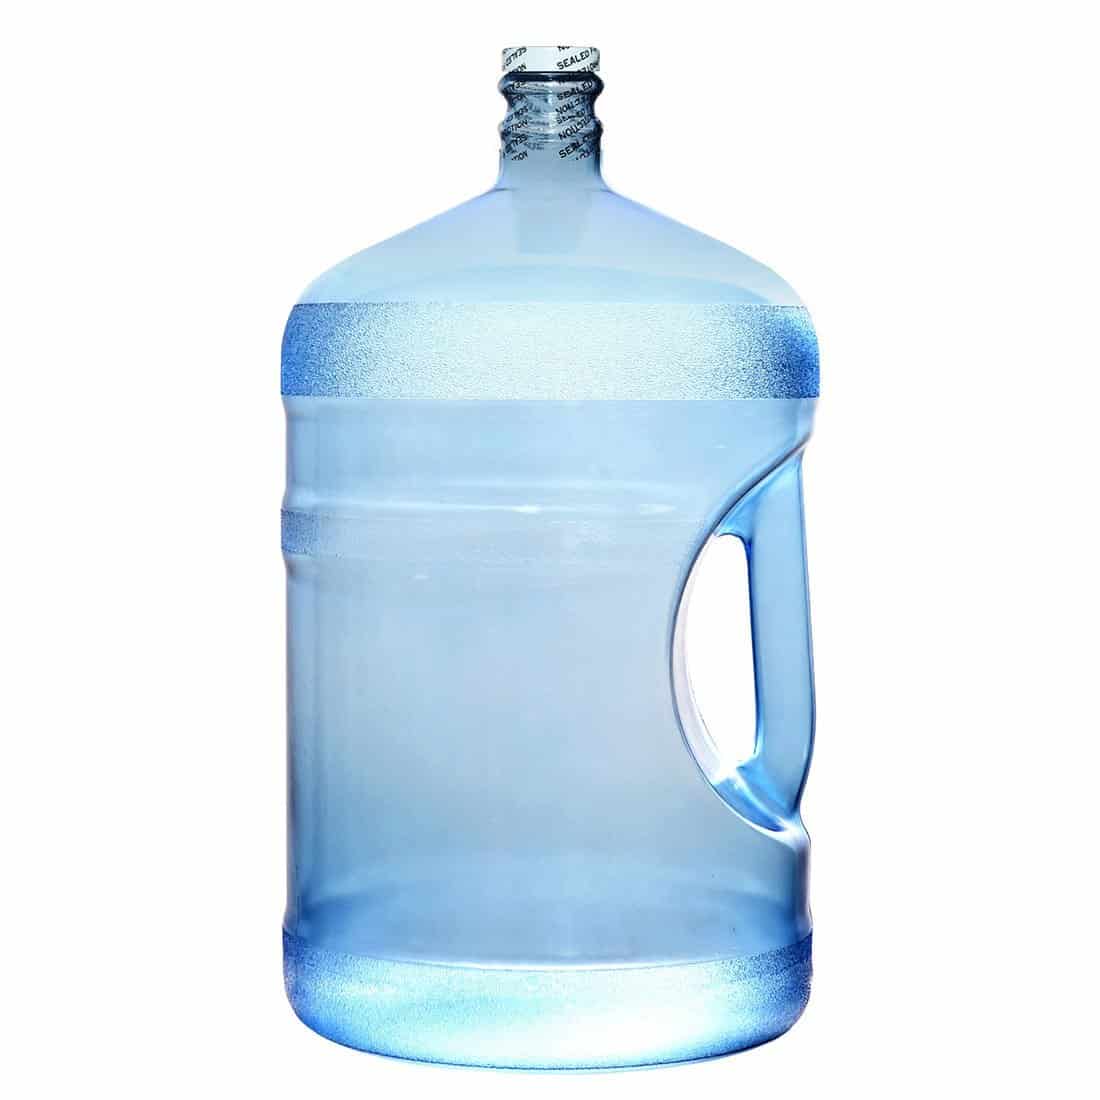
 Photo Credit: Greg Riegler Photography https://www.flickr.com/photos/gfrphoto/1695650382/sizes/n/
I talk a lot on this site about food. And I guess that is to be expected since I love to eat! But, truly, water ought to be the very first layer of our emergency disaster plan. Water is essential to life. Without it, we only have 3 days to live.
Yet, I think this incredibly important topic often gets overlooked for a few reasons:
- We can’t truly imagine life without water. We use it all day, every day, it is next to free and we tend to take it for granted.
- If you get past #1, your start to realize that you will need a LOT of water and it can be overwhelming to know where to start.
Today, I want to talk about the 3 basics of water storage and then give you some additional resources to make this project seem a little less overwhelming.
Tip #1: Know how much you need to sustain life and then store that much NOW!
FEMA recommends 1 gallon per person per day for a minimum of 3 days. This is enough water to drink / sustain life with just a little left over to clean wounds and prepare just a bit of food. You may think, yes, but I don’t drink a gallon / day now. No, you likely don’t, but you also likely get a lot of water from your food right now! Fruits / veggies have a LOT of water, but almost everything you eat has some water in it. If you are eating dry foods, you will not have that water source and will need to supplement. Your body uses 2-3 quarts of water each day just through sweat, breathing and urine. Err on the side of caution!
Check the chart below for the minimum amount of water your family should store based on FEMA’s recommendation:
| Family of 1 | 3 gallons |
| Family of 2 | 6 gallons |
| Family of 3 | 9 gallons |
| Family of 4 | 12 gallons |
| Family of 5 | 15 gallons |
| Family of 6 | 18 gallons |
| Family of 7 | 21 gallons |
| Family of 8 | 24 gallons |
That isn’t much water to store even for a family of 8! I’d venture to say that anyone of you can do that, even if you live in a small apartment! I challenge you to get it done THIS WEEK if you haven’t already. Clean and refill a few soda bottles or non-refrigerated juice bottles (do not use milk or refrigerated juice bottles), pick up a few 24 pkg of water or use something innovative like water bricks and you’ve got that first layer of security for your family!
Whew! That wasn’t too hard!
Tip #2: Water isn’t just for drinking!
Can you imagine living for more than a day or two without being able to do your laundry, flush your toilet, shower, wash dishes, prepare food, brush your teeth, etc? We truly do use water every day, all day! In fact, the average American uses 100-150 gallons of water per day when everything is normal. So, the one gallon per day recommended above would be quite the adjustment! You’d survive for the 3 days, but it wouldn’t be pretty or clean! And what if water was unavailable / unusable for more than 3 days?
- You will need additional water if you have infants or are pregnant or nursing.
- You will need additional water if it is warmer than average where you live.
- You will need additional water if all your food is dehydrated (most freeze dried foods can be eaten dry if needed, but most dehydrated foods have to be hydrated to be edible).
- You will need additional water if you have a serious medical emergency
- You will need additional water to truly stay sanitary, especially if the situation lasts more than 3 days.
Plan accordingly. Here is what my personal goals were / are for our family over the last few years:
| Step #1: | Store 1 gallon per person per day for 3 days (18 gallons for us). | |
| Step #2 | Store 5-6 gallons per person per day for 3 days (90-110 gallons for us) | |
| Step #3 | Store 5 gallons per person per day for 1 week (210 gallons for us) | |
| Step #4 | Layer (See Tip #3 Below) | |
| Step #5 | Store 5 gallons per person per day for 1 month (900 gallons for us) | Working on it….we have about 350 gallons total right now. |
Now, your family plan might be a bit different depending on your needs, where you live, the type of food storage you have, how long you can stand to go without a bath etc. But the principle is the same: While your first goal with water storage should be to store enough to sustain life, if your access to water is cut off for more than a couple of days, you will need more!
And by way of encouragement, you don’t need to do all that now! I’ve completed the first 4 steps above, but it took me a couple of years! Just pat yourself on the back each time to add to your family’s store of water!
Tip #3: Layer Your Water Storage:
By this I mean three things:
1. Store water in lots different types / sizes of containers.
You will never be able to move a 55 gallon water container when filled, so you will want something smaller if you need to leave. But the 55 gallon container will be much simpler both now and if you need it at home later.
2. Store water in multiple places.
You should have water anywhere you might be during a disaster: in your home, cars, a bit at work, and in your survival kits.
3. Realize that you simply won’t be able to store all the water you may need and plan accordingly.
No matter how much water you store, a disaster could potentially last longer than what you planned for. In addition, the water you do have stored may become contaminated (or you may have stored it improperly) and you will need to make it safe to drink again. So, add an extra layer of protection!
It is likely you will be able to find another water source eventually. In fact, your running water may even still be on, but not be safe to drink. Or, you may live near a lake, stream, pond or river. Plan to make use of those water sources: Store things that will allow you to make unsafe water safe to drink. Store purification tablets, water filtering water bottles, water filters, and my favorite, the Aqua Pail. And be sure to read this post which lists free ways you can make water safe to drink if you don’t have the budget to purchase any of the above mentioned items!
For some additional tips about water storage check out the following articles here on my site:
-
5 Water Storage Tips for Apartments
-
Product Highlight: The Aqua Pail
-
Rotating Your Water Storage
-
Water Storage Overview
-
Water Storage in a Survival Kit Part 1
-
Water Storage in a Survival Kit Part 2

Becky is a wildlife enthusiast and pet and livestock care expert with a diploma in canine nutrition. With over a decade of experience in animal welfare, Becky lends her expertise to Simple Family Preparedness through insightful info about pets, livestock, bee keeping, and the practicalities of homesteading.
What about pets? How much extra water do we need to store for our animals?
I don’t have pets Mari, so I’ve actually never thought about htat. But it is a good point. I would suggest keeping track of what they drink for three days and then storing that amount plus a little extra for cleaning. You can also find lots of tips about pets from my readers here: https://simplefamilypreparedness.com/survival-kit-ideas-week-22-prepare-for-your-pet/
One of the things that I do for water storage for washing clothes and dishes is easy and does not cost anything extra (except the cost of the water) is to refill and store my empty bleach, liquid laundry soap, dish soap, ect…They are thick plastic. So I leave a little product in the bottom and fill with water and store. If we are ever out of running water I will have water to wash dishes, clothes, and clean with.
I’m probably being horrible, but I use recycled juice bottles to hold my water. I wash it then after it is completely dry, I fill it with water and set it on my kitchen counter for 2 weeks. After two weeks if it hasn’t grown anything, I store it in the garage. I keep water cleaning tablets in my camping equipment and this allows me to have extra water for pets, cleaning and baths. (Although, admittedly I’m much worse about drinking water, I’ve started purchasing a gallon every time I go to the grocery.)
We use juice bottles too! They stack well, and they last a long time. We have terrible tasting water here, so we buy the gallons at the store, but those bottles don’t last well at all. IMO, it’s better to put water in the “tougher” bottles, like juice bottles or something more permanent like the barrels, because I’ve had several water jugs leak. I’ve never had a juice bottle leak!
The only issue is with the bottles that are made out of the same plastic as milk bottles…I sometimes buy refrigerated orange juice in those types of bottles. You just can’t rinse them out well enough to rid them of all sugars etc. and you can get bacterial that you can’t see. But the other juice bottles (non-refrigerated and the more expensive refrigerated OJ bottles) are fine.
I’m a newbie, but very excited about all the info I’ve learned from your blog. We have an in ground pool in the back yard. I’m assuming I would be able to use this water for cleaning, toilets, laundry, bathing, etc. Then I would just need to keep the appropriate amount of drinking water on hand. Correct? Of course, I could filter/purify the pool water if necessary, as well.
Yes! I would love a pool just for that reason!
Hey Misty,
Is that little picture your “shelving” for the 55 gallon barrels? If so, did you buy or make it? Essentially, how can I get one 🙂 Also, I have heard about using rinsed laundry detergent bottles for (strictly) cleaning water. They are especially nice because of their spouts!
No, I do not (yet) have such an awesome system for my water barrels! But you can find them here: https://www.trigenman.com/index.html or here: https://www.iwillprepare.com/Water_files/Water_Water_Barrel_Stands.htm
And yes, old laundry bottles are great for cleaning water!
And sorry my response was so delayed. I was in Costa Rica for a week and I’m just now getting caught up!
Wow, that’s a lot of water! I had heard about not using milk bottles before. I think because of bacteria and the instability of that type of plastic. However, i had not read about avoiding refrigerated juice bottles. I supposed that is for the same reason? And what about non-refrigerated juice that we kept cold after opening?
Finally, is week 3 ready to go? Thanks!
It is only the bottles that are made with that same type of plastic. Everything else should be fine!