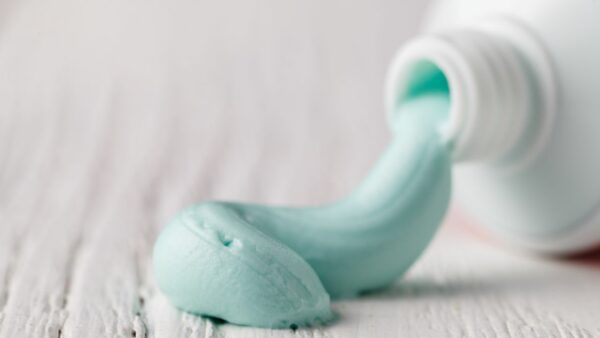
Here’s one more of those “We tried it for you” posts. Toothpaste dots. You’ve seen them all over Pinterest, especially related to camping. But do they work? Is it helpful?

This is a quick answer for those of you who don’t like to read long blog posts with all the information.
What Are Toothpaste Dots?
Toothpaste dots were an idea someone came up with a while back to have toothpaste on hand for camping and hiking. (Maybe someone famous came up with them for a humanitarian cause, but this is my blog and my story and I’m sticking to the camping/hiking thing because it’s all I could find and the only thing I ever see it related to).
They take up little space, are almost weightless, and are better than packing a tube of toothpaste that will inevitably burst and put toothpaste over the entire contents of your bag, no matter how many layers of plastic you encased it in (Murphy’s Law).
The idea is to put one of these dots in your mouth, chew it up where it rehydrates and becomes toothpaste again, and you can brush your teeth without the unnecessary tube of toothpaste (that, again, will just explode into a gigantic mess in your bag no matter what you do).
How to Make Toothpaste Dots for Travel?
1. Squirt some toothpaste on a nonstick surface.
2. Sprinkle with baking soda.
3. Let air dry until they are no longer tacky.
4. Turn over and sprinkle with more baking soda.
5. Let air dry until they are no longer tacky.
6. Store in an airtight container.
You can dry it in a dehydrator but do so at a lower temperature to make sure you’re not actually cooking the toothpaste and dehydrating it all the way through.
Further Advice
But here are some things those websites and Pinterest fails to tell you about toothpaste dots.
- If you have an aversion to strong minty flavors, these toothpaste dots are going to be AWFUL to chew up.
- You need to use the cheapest toothpaste possible. The colored gels don’t work well at all. Even the more fancy toothpaste brands tend to be a little soft to work quickly. We found that the cheap plain toothpaste’ brands worked best, both in keeping a form and drying.
- You need some water on hand. Maybe it’s just because I fall under Little Known Fact #1, but I have to use quite a bit of water to help rehydrate the toothpaste and to help with that taste. My mouth doesn’t instantly salivate upon popping one of these babies into my mouth. It becomes the Sahara Desert. Then, again, I’ve never been one of those people who can brush and spit and not rinse, and I’m not a fan of strong mint flavors.
- Make sure they are REALLY dry or they might become one huge lump of toothpaste in your bag, in which case you’ll want to be sure to have a survival knife handy so you can try to chip some loose.
- Make them kind of small. Trust me.
Final Thoughts
The premise is a great one. You can pack a bunch of toothpaste more easily, without the potential mess. You can pack a lot of toothpaste weightlessly. They are ideal for camping/hiking/72-hour kits and emergency packs. This is an easy project to do together as a family. The kids will have great fun being a little bit messy!
You also have these options: Toothpaste Tablets (these are even berry-flavored in case you hate super-minty, too!), Fresh’n’Go Toothbrushes (but you still have to worry about the burst and subsequent mess), toothpaste powder, or skip the toothpaste and just brush!
Be creative and resourceful with what you have. Emergencies and survival situations can come at any time. With this tutorial, I hope you will get something from it. If you are planning to send your children to a camp, or you, yourself, are participating, then this is a help to you. Make sure to be ready anytime. It’s not all the time that we get to live in comfort. It’s a great experience to allow people to thrive through inconvenience. There are no articles or video tutorials that will replace the best teacher which is experience. As you continue to grow in experience, the more you grow as a person and in your skills to survive.
Forget Something in Your Kit? Dental Preparedness for Emergencies
Katy Willis is a writer, lifelong homesteader, and master herbalist, master gardener, and canine nutritionist. Katy is a preparedness expert and modern homesteader practicing everyday preparedness, sustainability, and a holistic lifestyle.
She knows how important it is to be prepared for whatever life throws at you, because you just never know what's coming. And preparedness helps you give your family the best chance to thrive in any situation.
Katy is passionate about living naturally, growing food, keeping livestock, foraging, and making and using herbal remedies. Katy is an experienced herbalist and a member of the CMA (Complementary Medical Association).
Her preparedness skills go beyond just being "ready", she's ready to survive the initial disaster, and thrive afterward, too. She grows 100% organic food on roughly 15 acres and raises goats, chickens, and ducks. She also lovingly tends her orchard, where she grows many different fruit trees. And, because she likes to know exactly what she's feeding her family, she's a seasoned from-scratch cook and gluten-free baker.
Katy teaches foraging and environmental education classes, too, including self-sufficient living, modern homesteading, seed saving, and organic vegetable gardening.
Katy helps others learn forgotten skills, including basic survival skills and self-reliance.
She's been published on sites such as MSN, Angi, Home Advisor, Family Handyman, Wealth of Geeks, Readers Digest, and more.
